Home › Gallery
Project Photos: Roofs, Chimneys, Masonry Steps and Decks Across North Jersey
Roofs, chimneys, masonry steps, concrete walks and decks — real projects finished by our own crew.
Roof Replacement & New Roofs
Storm Damage & Repairs
Chimneys: Liners, Caps & Chase Covers
Masonry Steps & Poured Concrete Walks
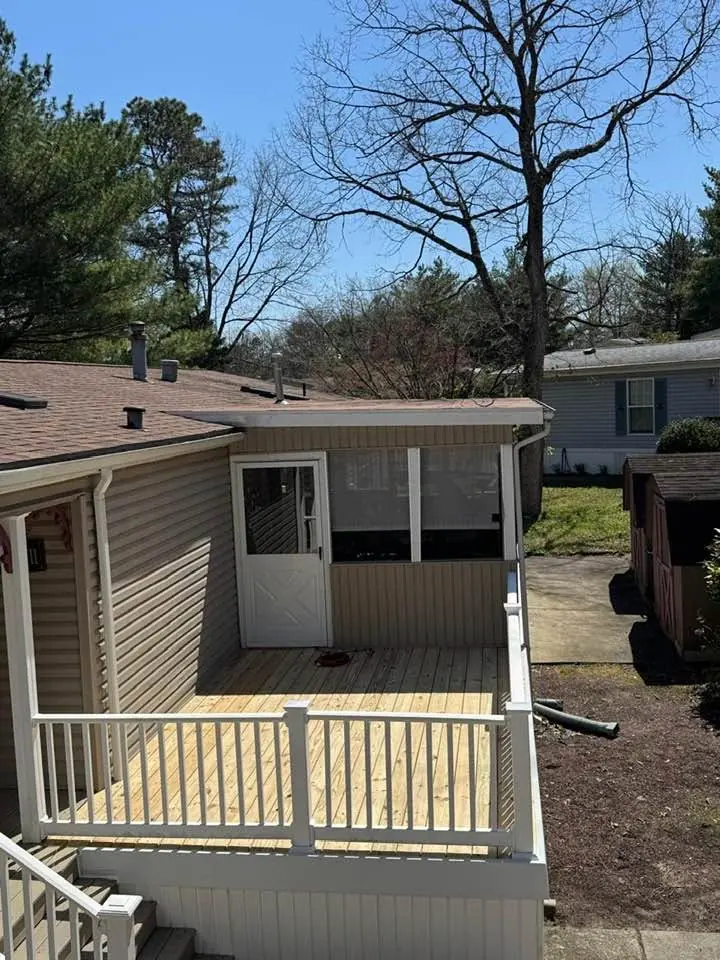
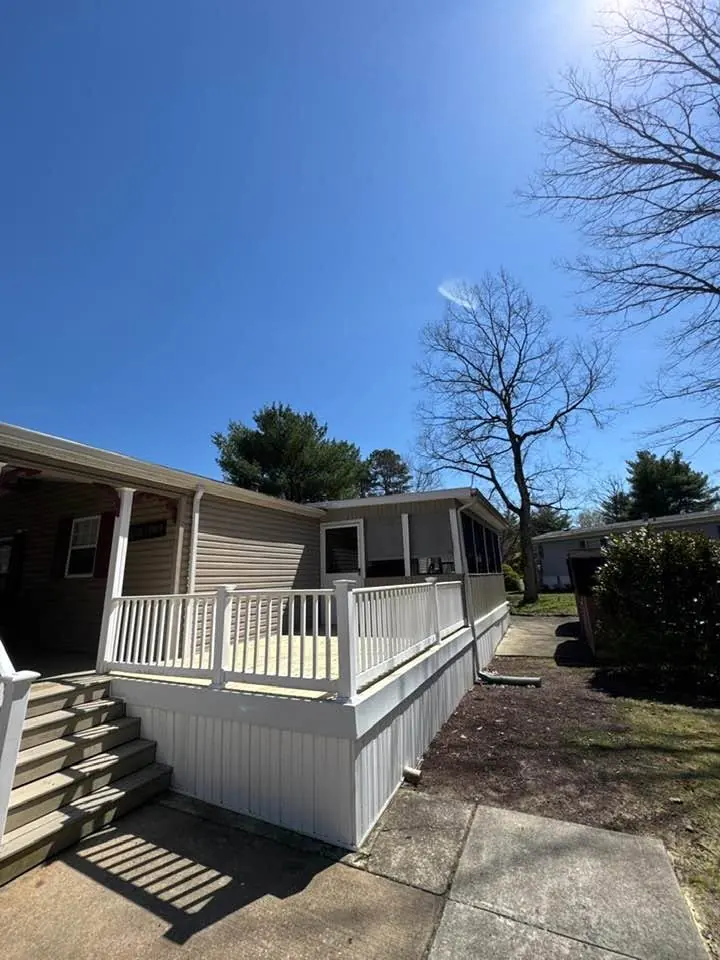
Decks & Pool Decks
More photos on Facebook
New before-and-afters get posted as jobs wrap up.
How do you read a progress photo versus a finished photo?
A finished photo shows how work looks; a progress photo shows how it was built. Progress shots of tear-off, decking, footings, forms and liner connections matter more, because those layers get covered. Look for solid substrate, clean fastening and visible detail at edges, penetrations and joints before any finish material hides them.
Most of the photos in the galleries below were taken while a crew was working, not after the cleanup. That is deliberate. A finished roof, deck or walk tells you about color and layout. A progress photo tells you whether the part you will never see again was done properly.
What a progress photo can show
- The substrate. Bare roof boards after a tear-off, a freshly framed deck on its footings, wood forms set for a concrete walk, a block core for new steps. These are the layers that fail first when they are rushed.
What a finished photo can show
Photos on this page are grouped by trade, and the captions say only what is visible in the frame. If you want the full scope behind a type of work, start with our roofing services, chimney services, masonry services or deck building pages.
What does a quality roof replacement look like in photos?
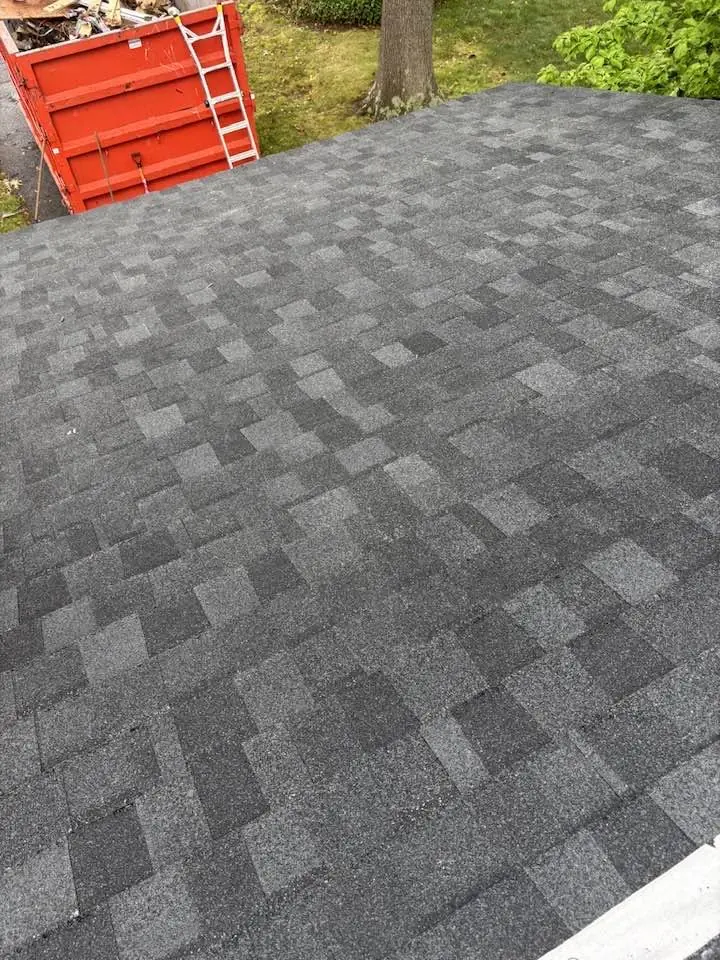
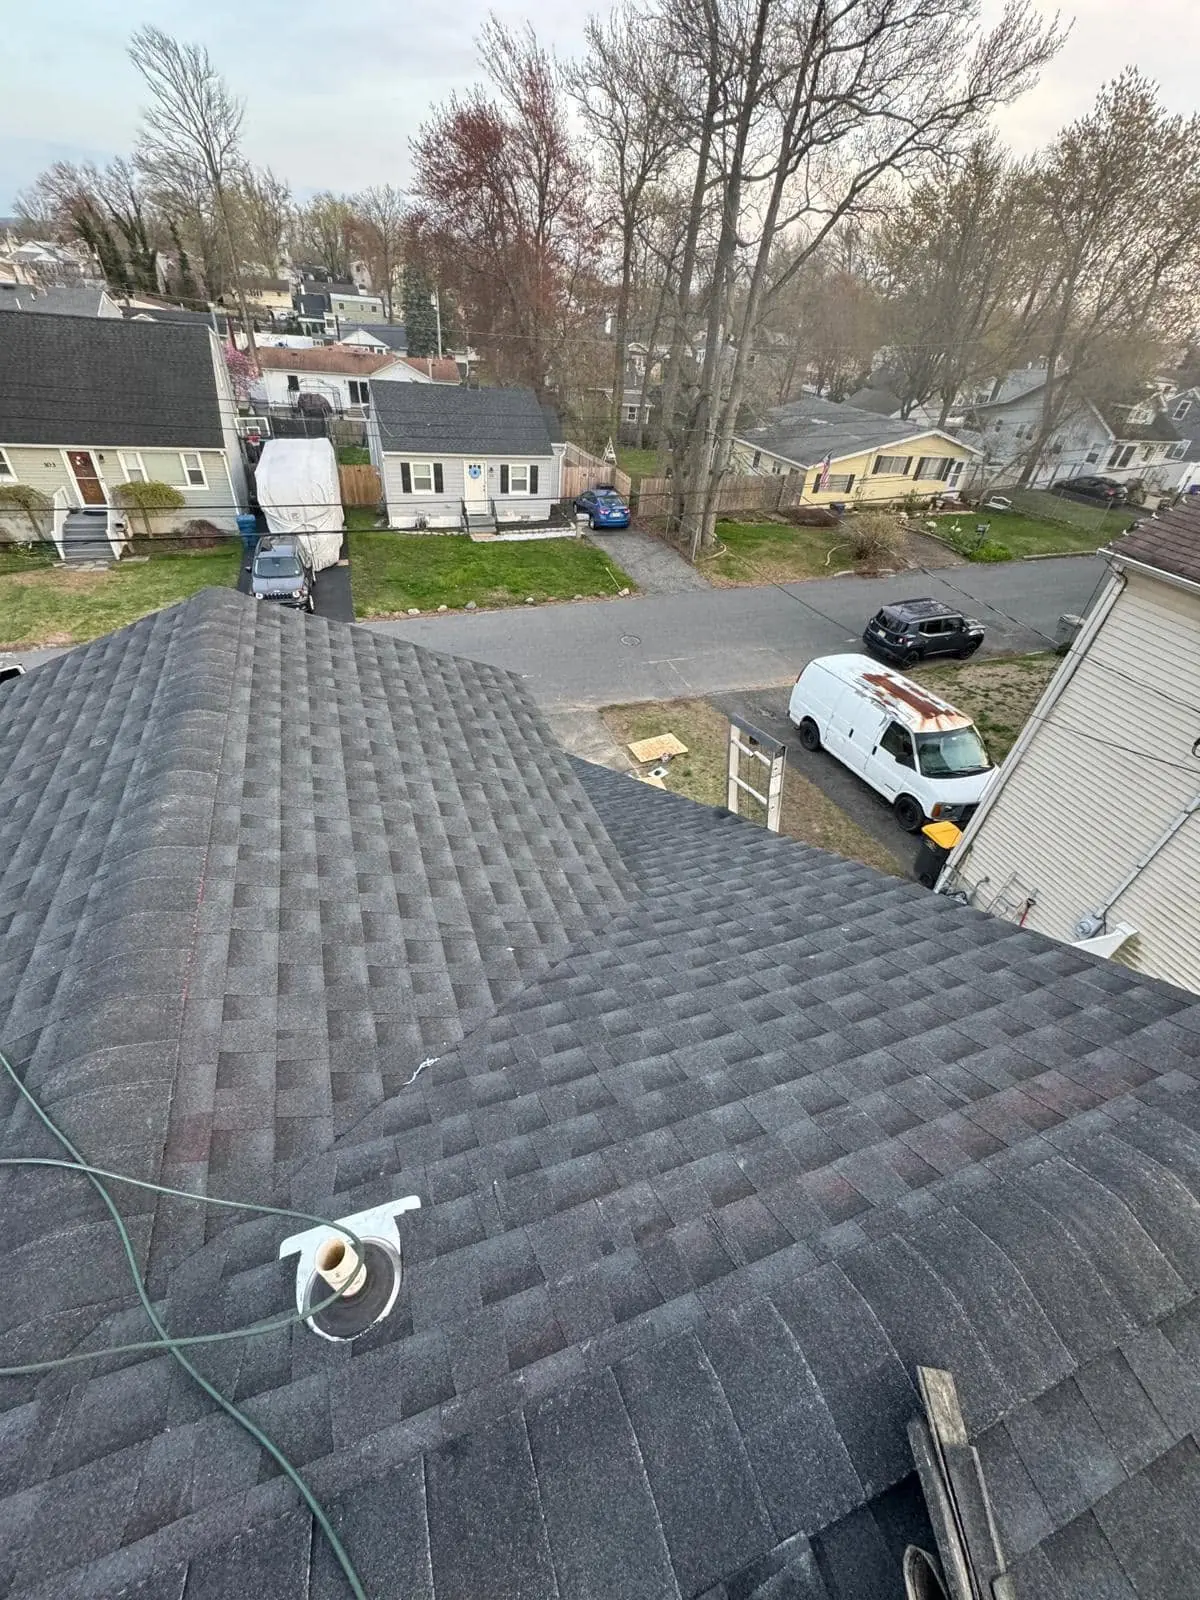
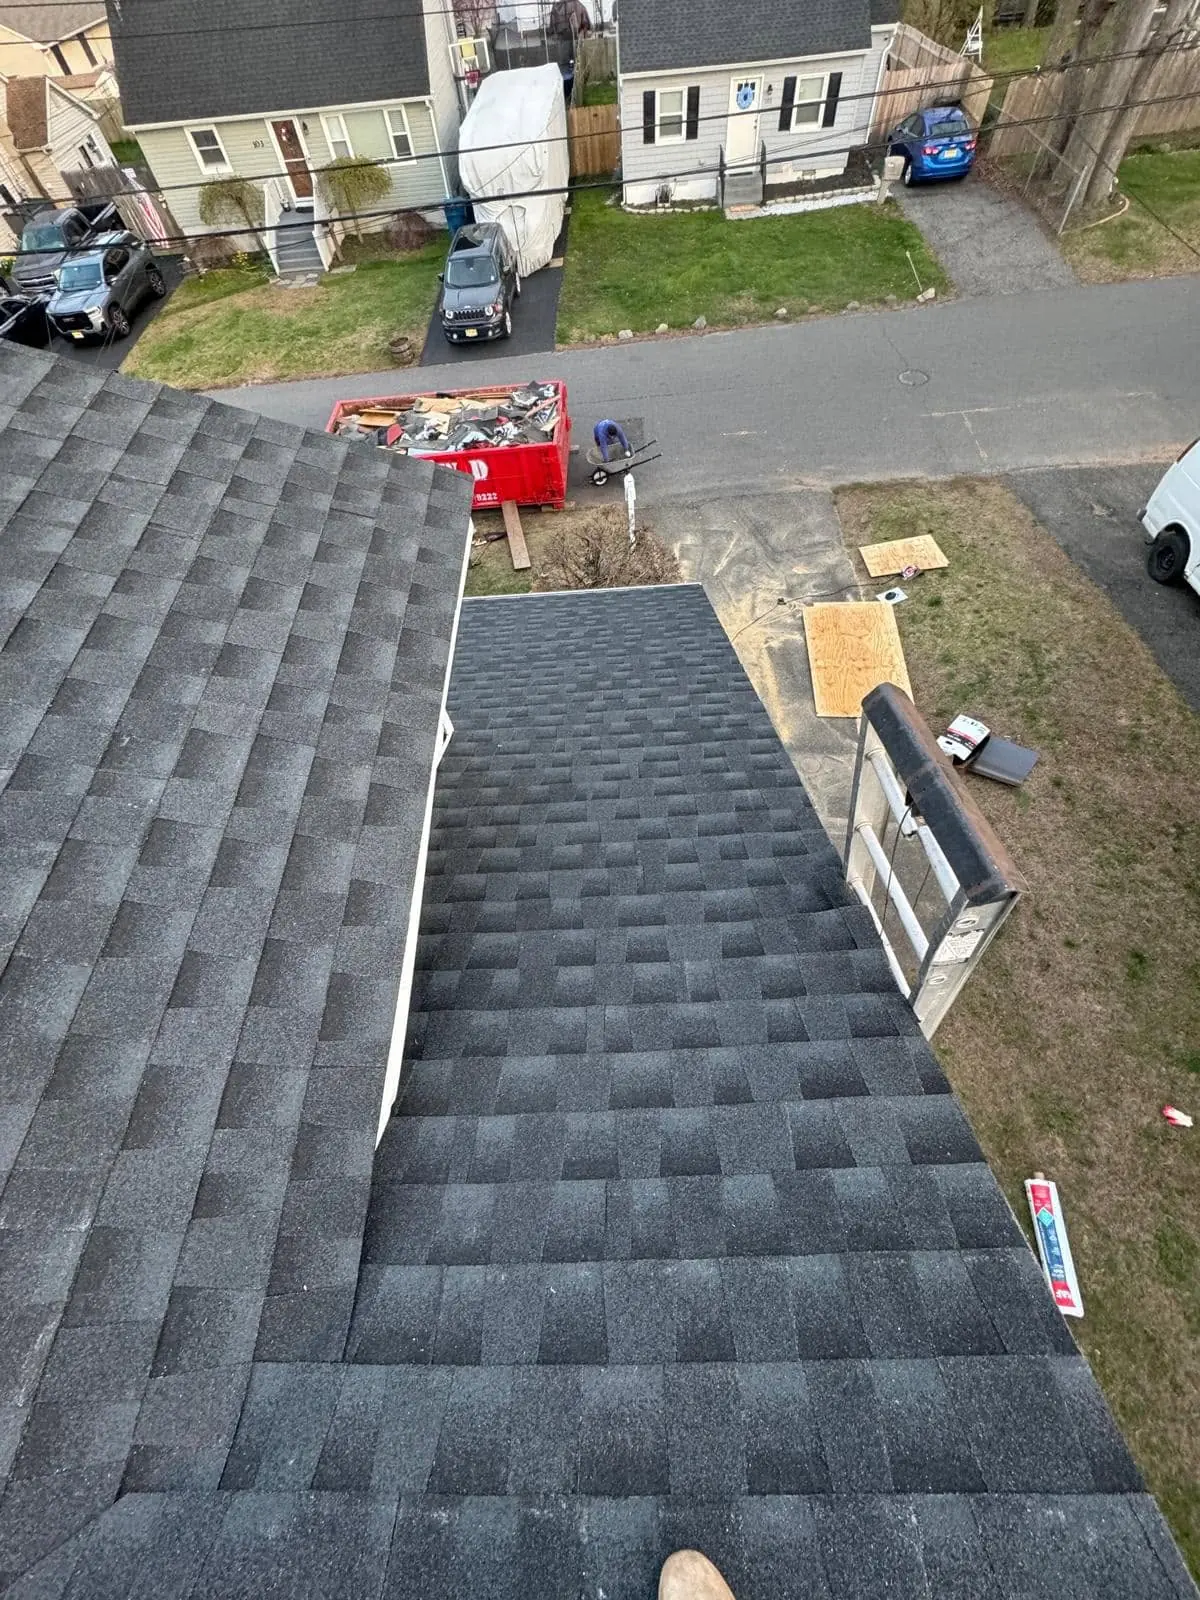
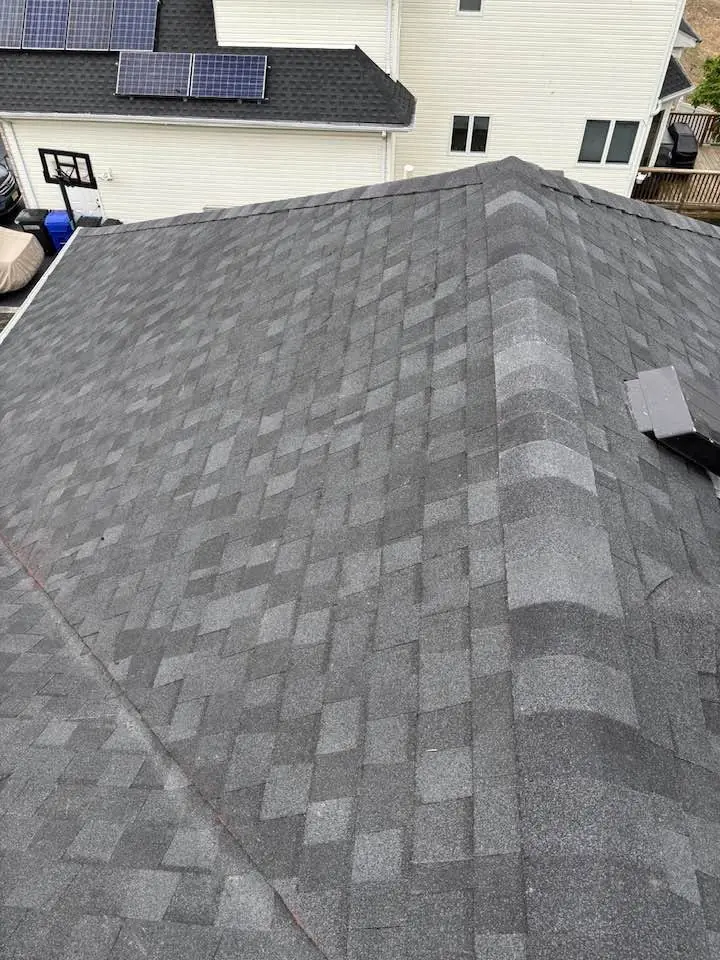
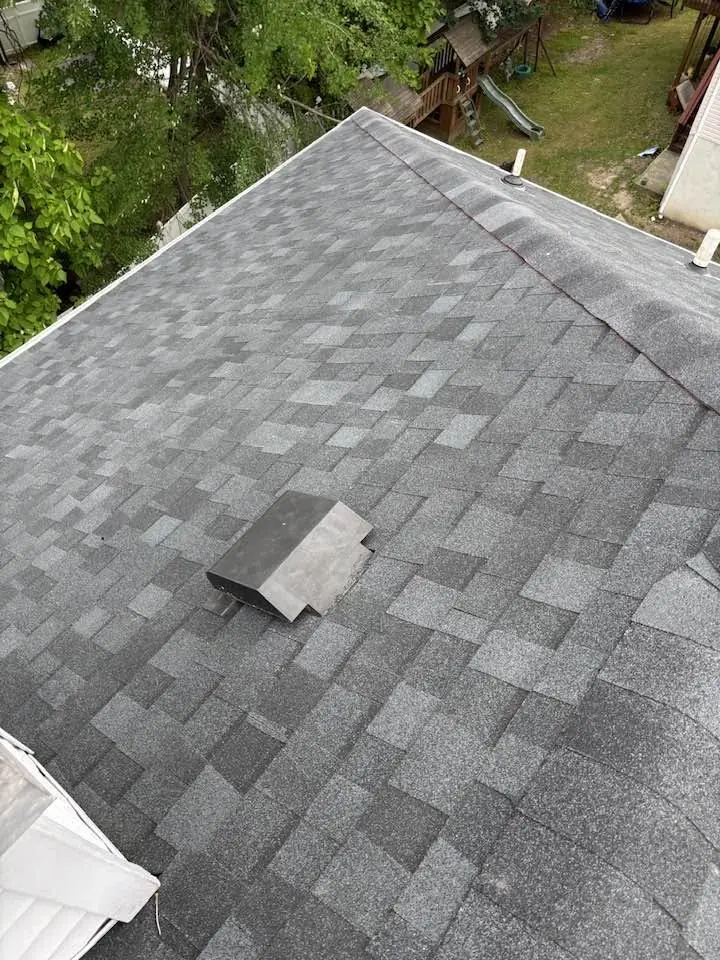
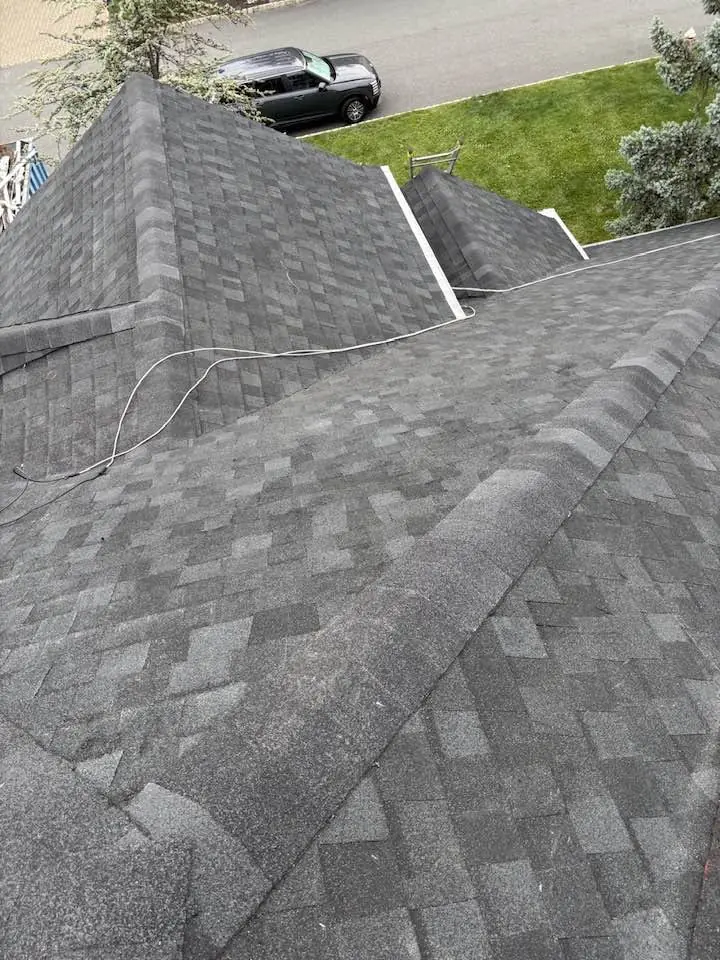
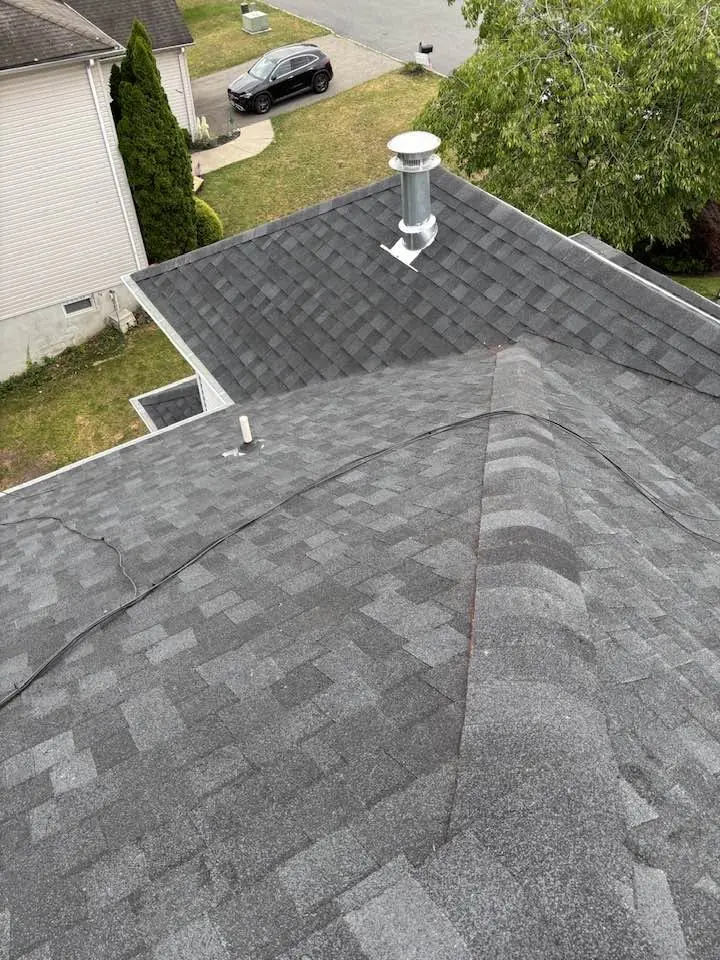
A quality roof replacement starts with a full tear-off to the roof deck, solid plywood sheathing, a synthetic underlayment, and clean detail at valleys, hips, vents and chimneys. In the finished photos, rows run straight, drip edge is crisp, and every penetration has fresh flashing or a new vent boot.
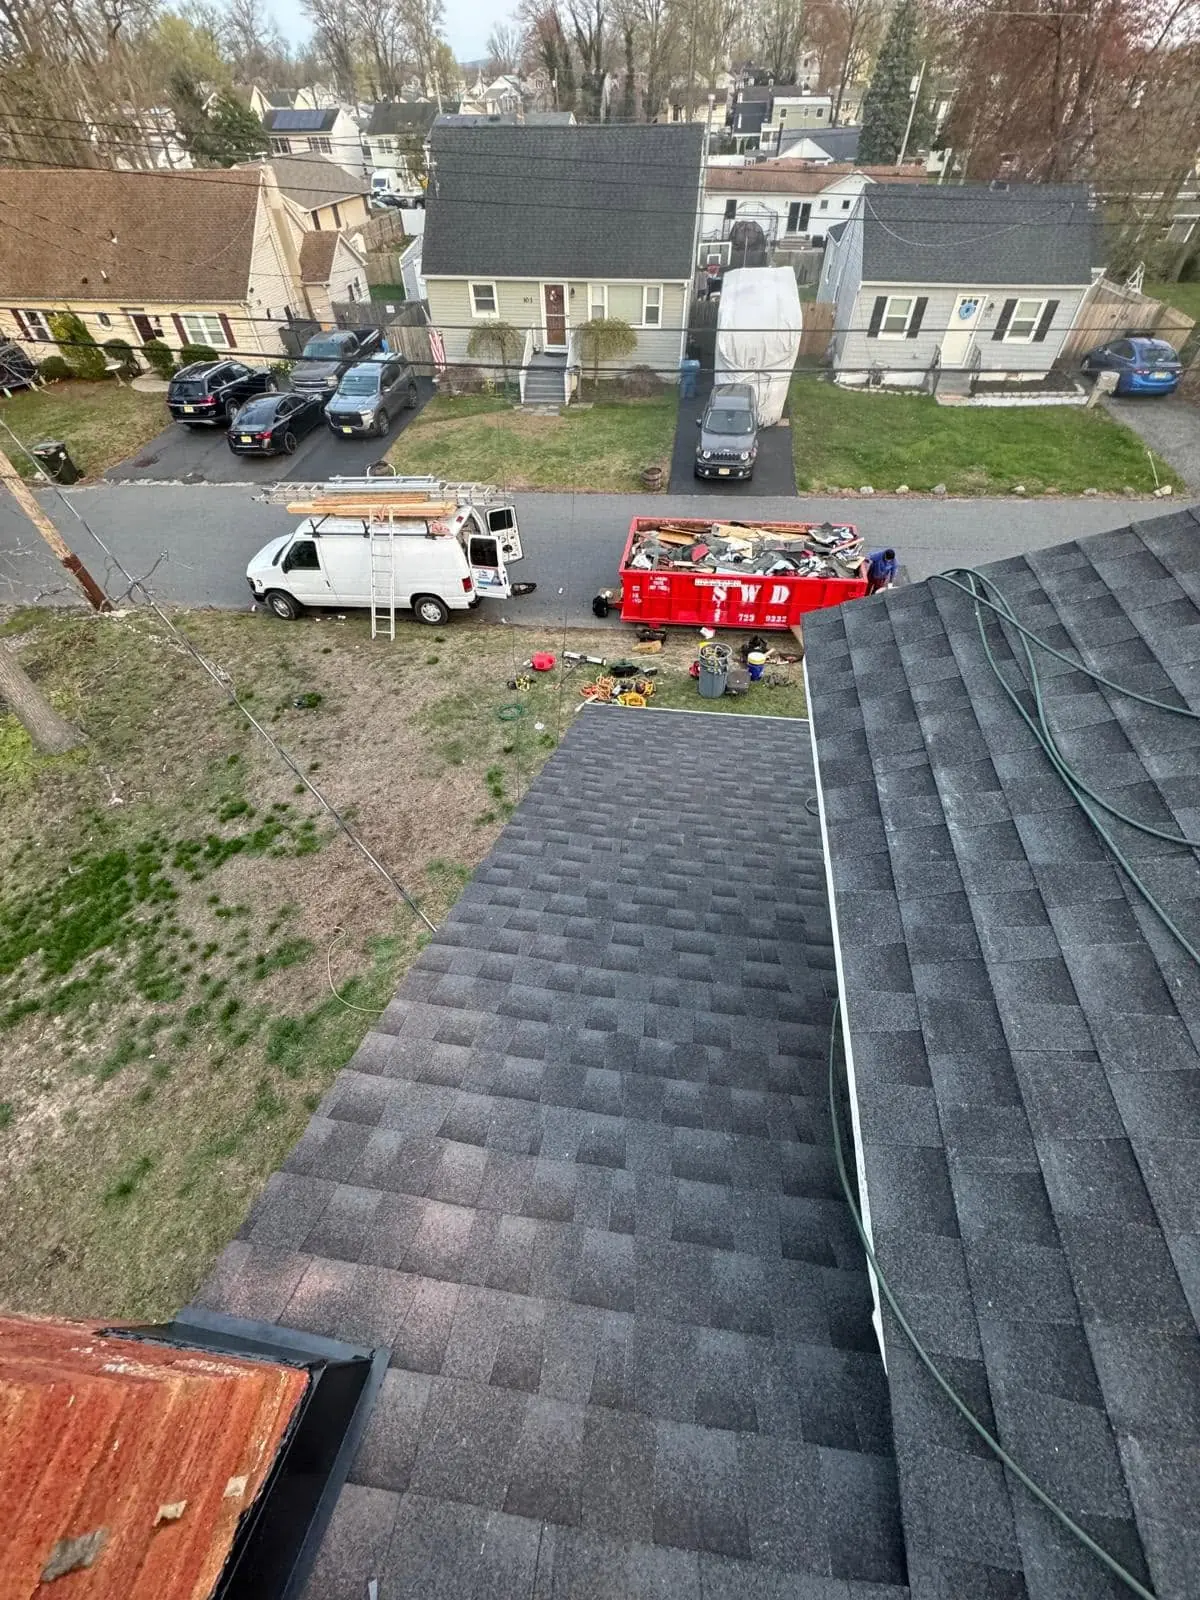
The roofing galleries follow the work from the old roof coming off to the finished shingles. If you are comparing contractors, look for the same sequence in their photos.
Tear-off and decking
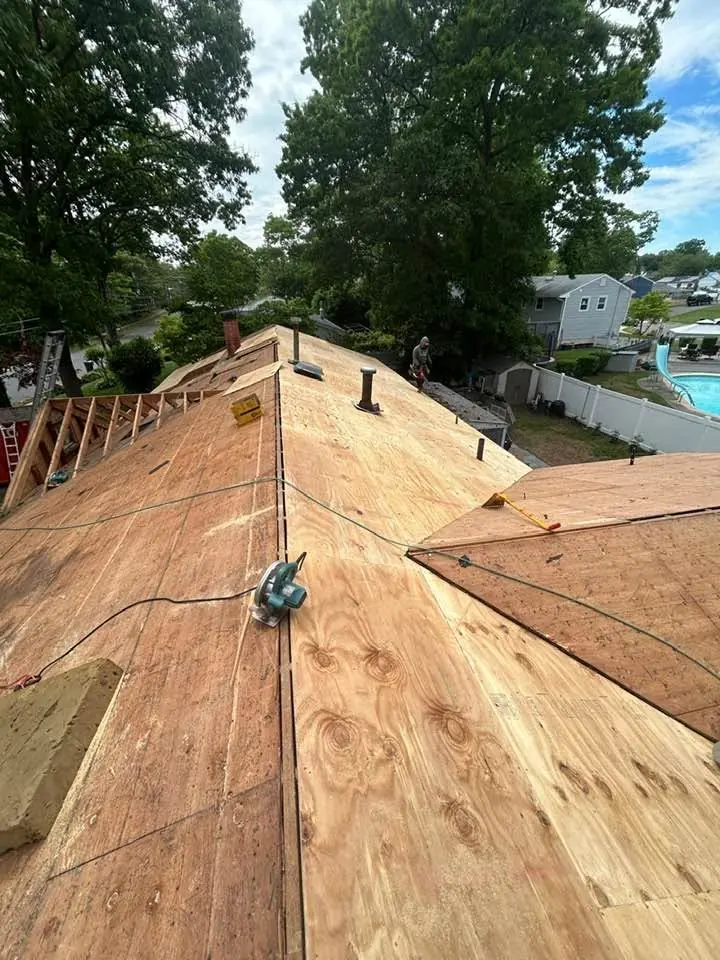
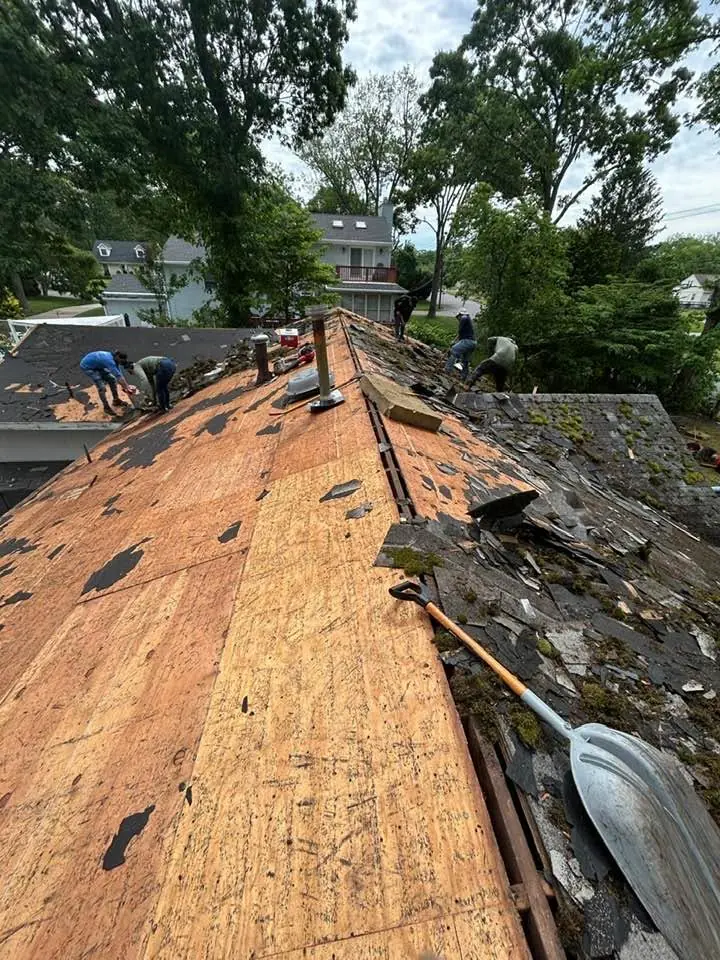
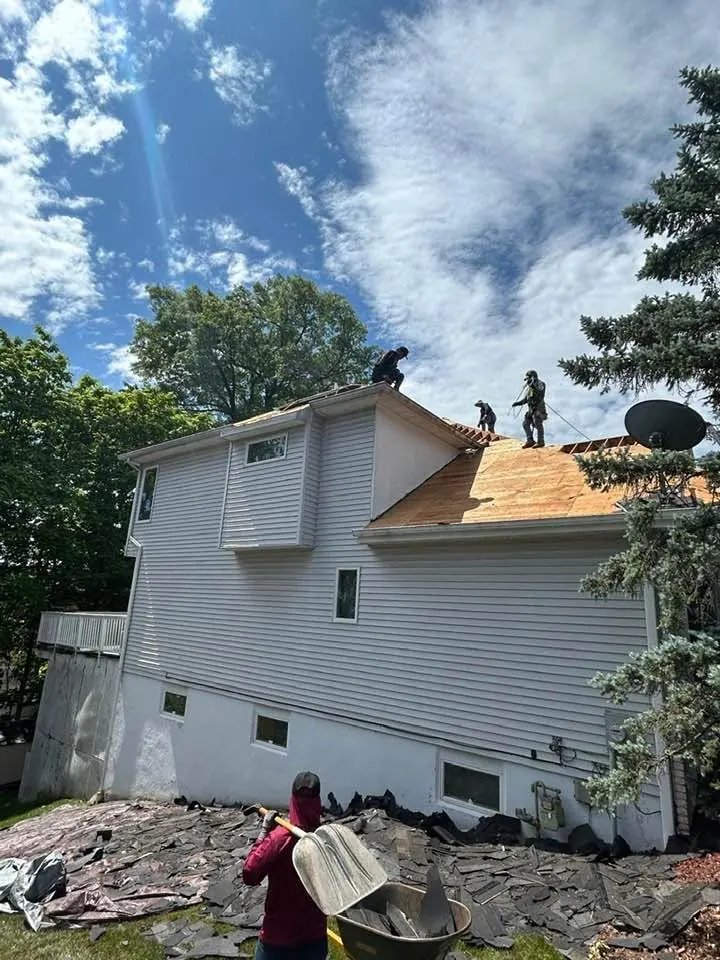
Some photos show old shingles stripped down to the roof boards, others show new plywood sheathing being fastened. Replacing a roof over rotted or uneven decking just buries the problem, so the deck is what you want to see: flat, tight seams, and no soft spots left in place. Our roof replacement page explains how we handle decking and what we do when rot turns up under the old shingles.
Underlayment and details
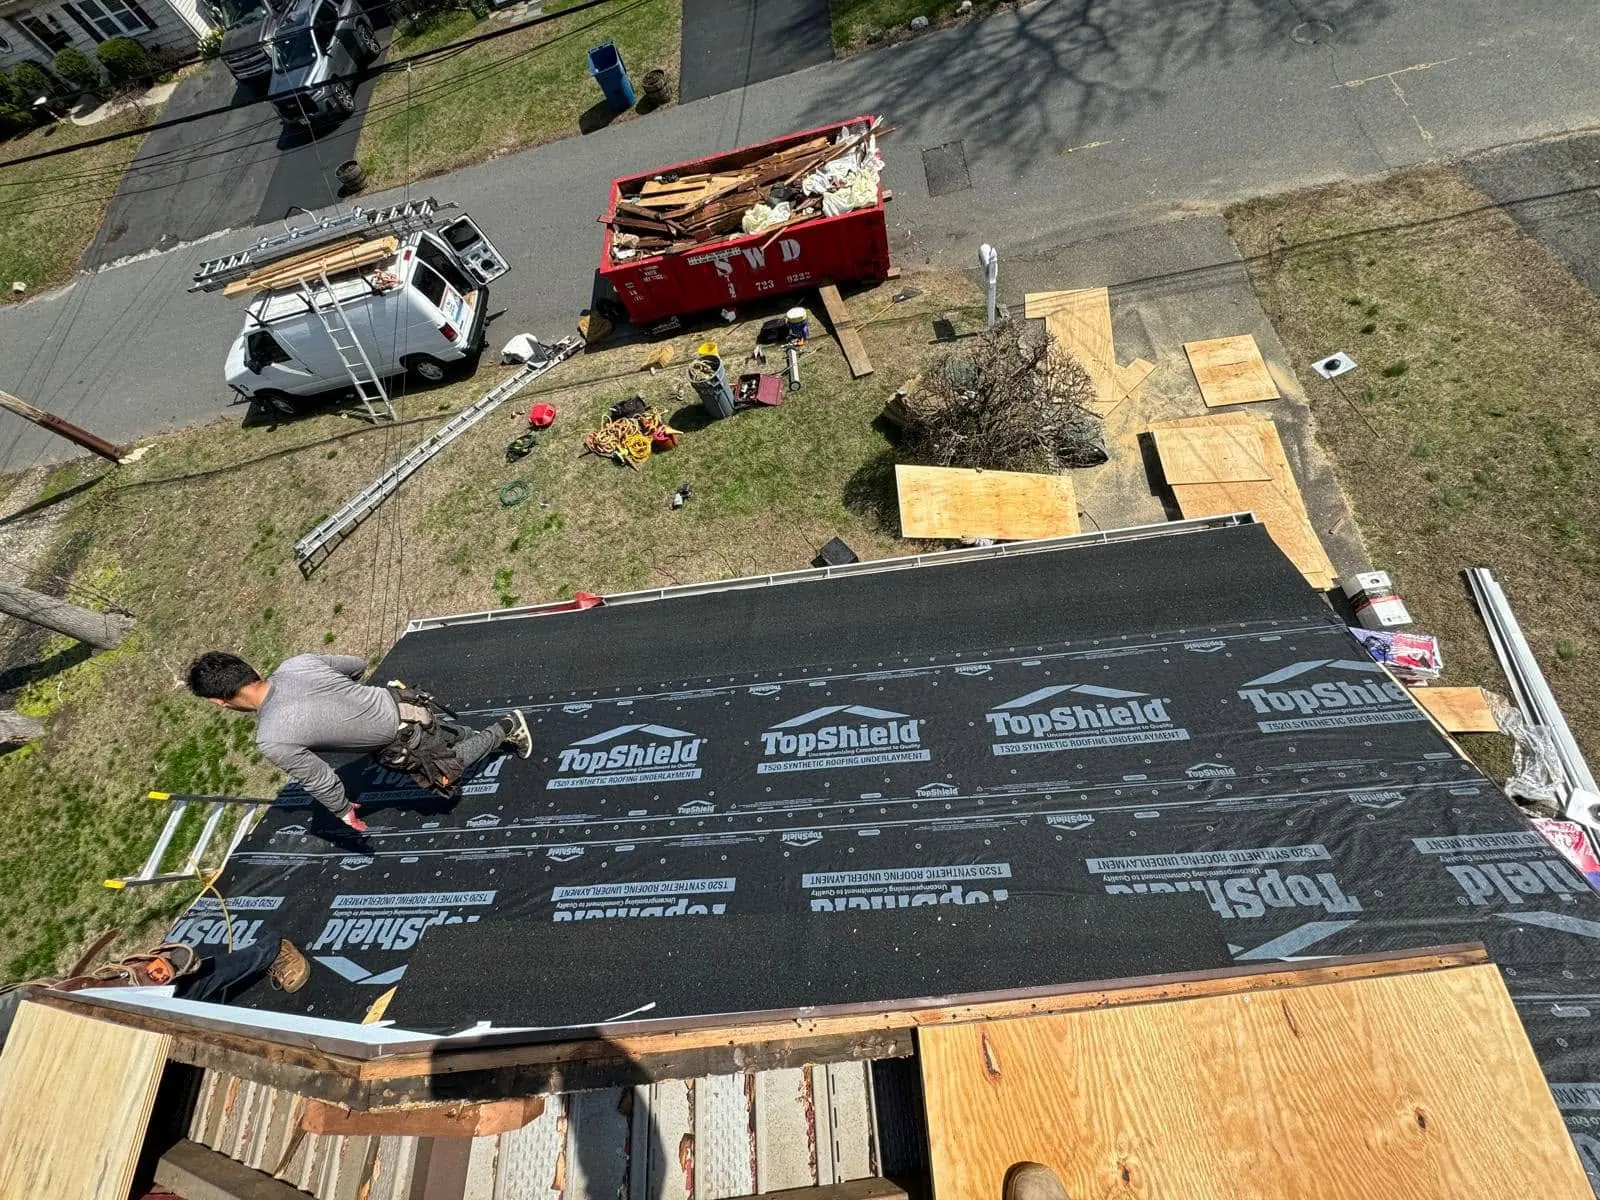
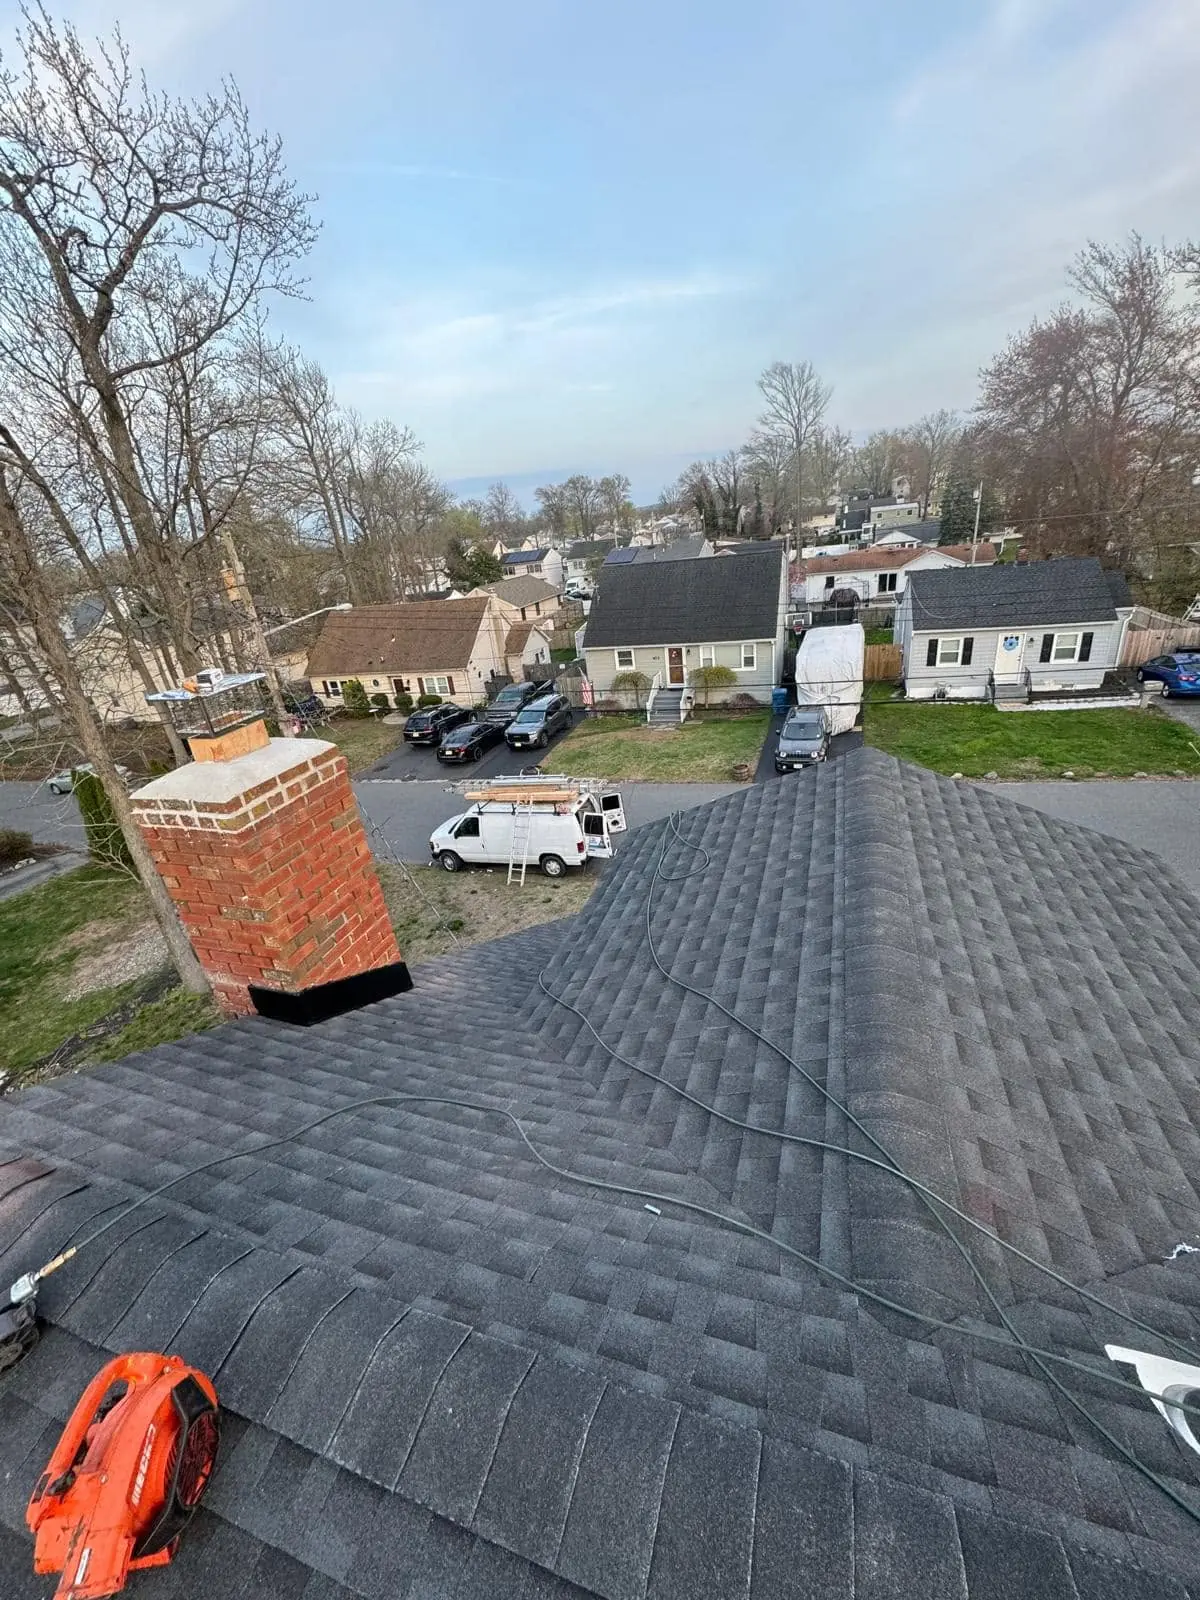
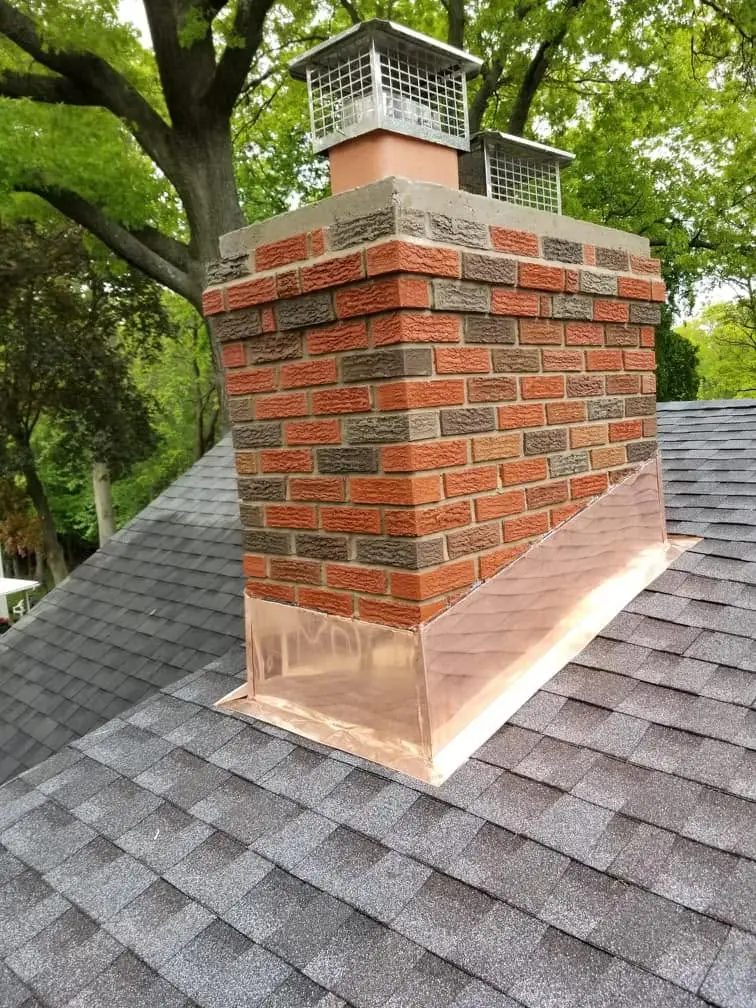
One photo shows synthetic underlayment being rolled out over new plywood. Another shows a roofer working shingles and new underlayment around a brick chimney. Chimneys, vents, hips and valleys are where leaks usually start, which is why finished photos of those spots matter more than a wide shot of a flat plane of shingles.
Finished roof markers
- Straight shingle courses and clean, even valleys.
- A fresh plumbing vent boot instead of a reused cracked one.
- Low-profile roof vents placed deliberately. Ventilation is its own topic, covered on our attic ventilation page.
For material choices behind the shingles you see, read our guide to roof materials for New Jersey homes.
What do storm damage, rot and flat-roof photos tell you?
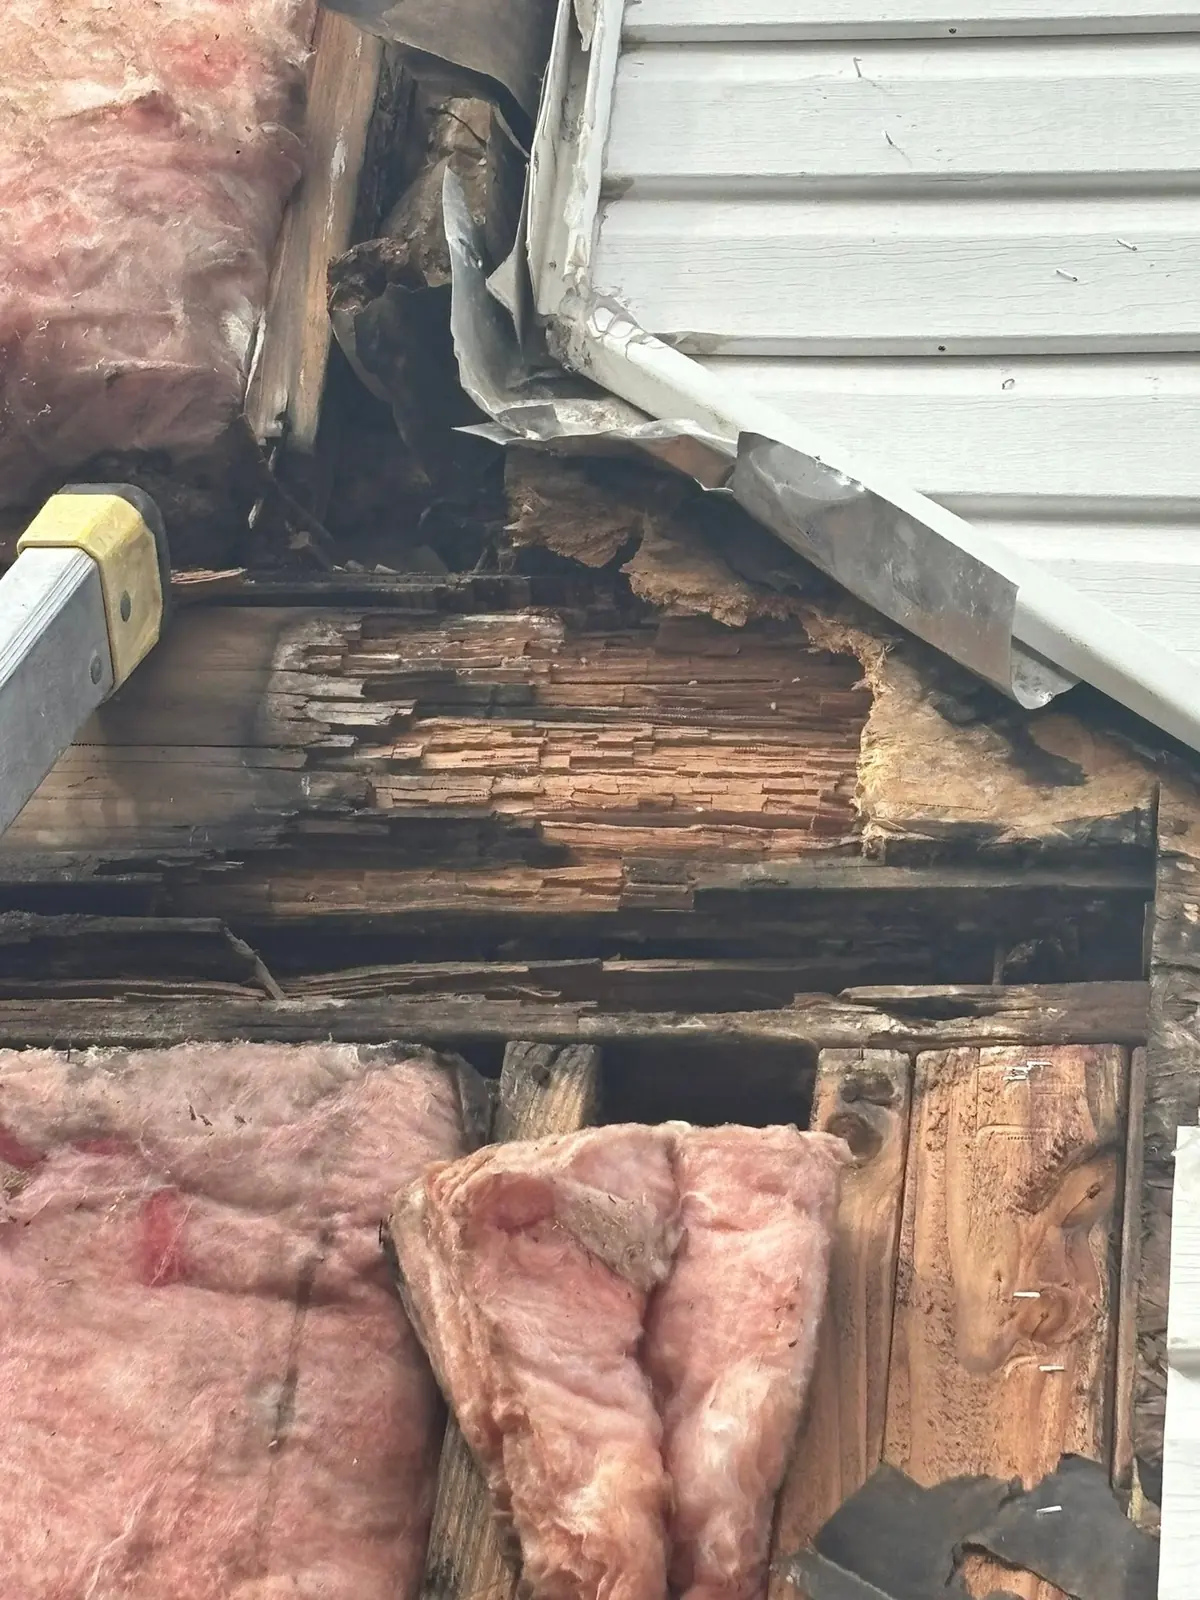
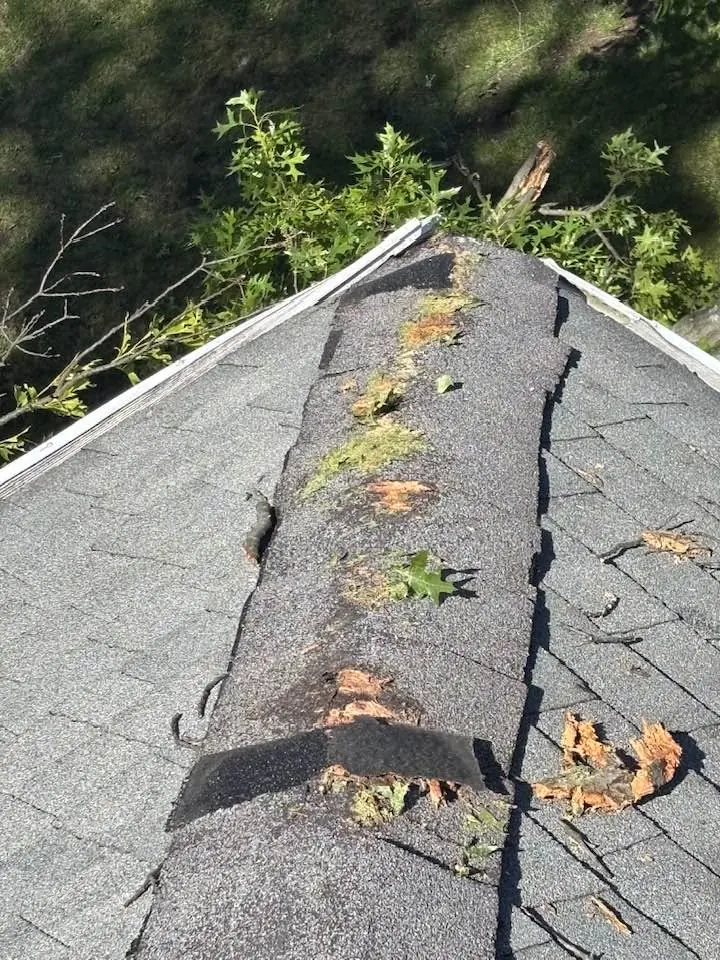
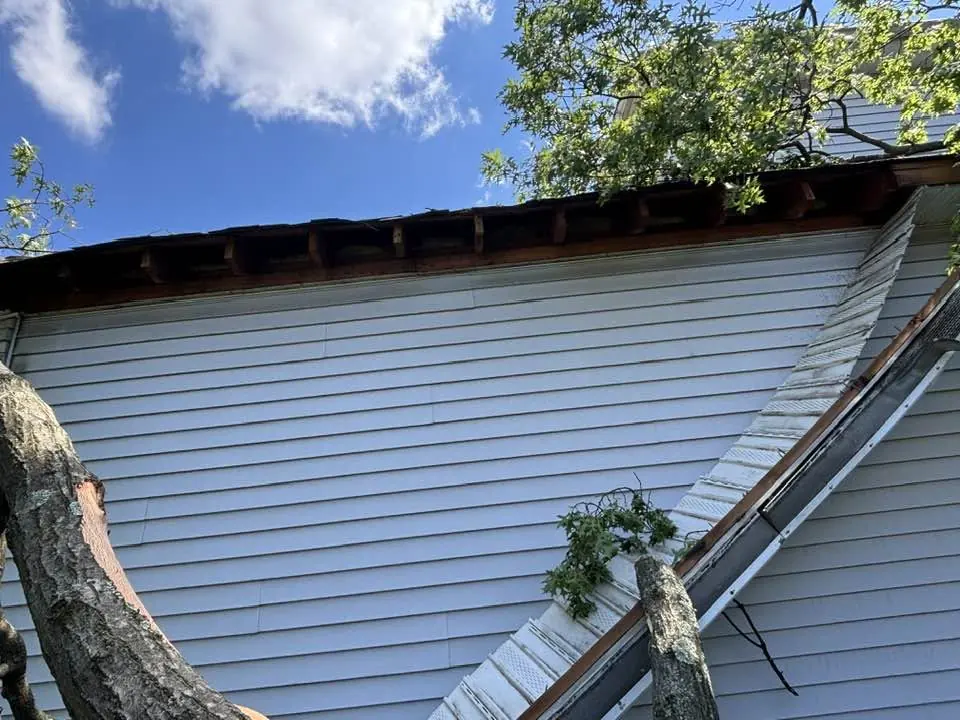
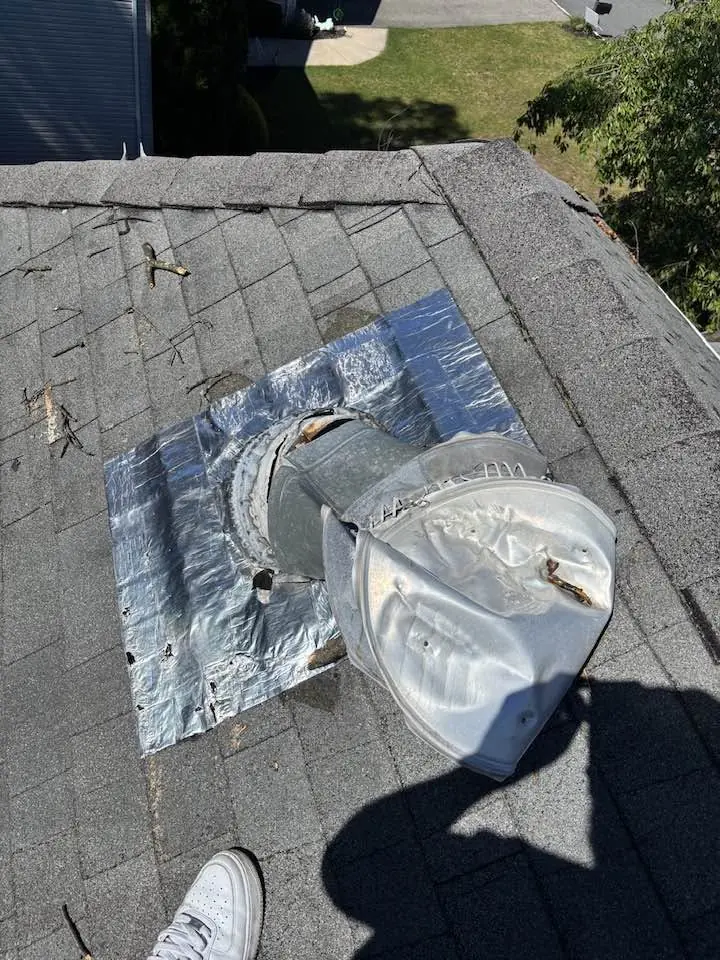
Repair photos show why a roof or wall was failing: cracked ridge caps, tree-limb damage, a leaking vent with a foil patch, and rotted edge framing or decking. Flat and low-slope photos show new membrane, new sheathing and parapet edges. Together they show the problem exposed, then the fix installed.
| What the photo shows | What it tells you | What to ask a contractor |
|---|---|---|
| Cracked and lifted ridge cap shingles | The ridge, the highest and most exposed line, can open up before the field shingles do | Are the ridge and hips being replaced or just resealed? |
| Roof ridge hit by fallen tree limbs after a storm | Storm damage can reach the deck and framing under the shingles | Will you inspect the boards under the damaged area? |
| A failed roof vent with an improvised foil patch that was leaking | A patch over a failed penetration rarely lasts | Is the vent being replaced and re-flashed? |
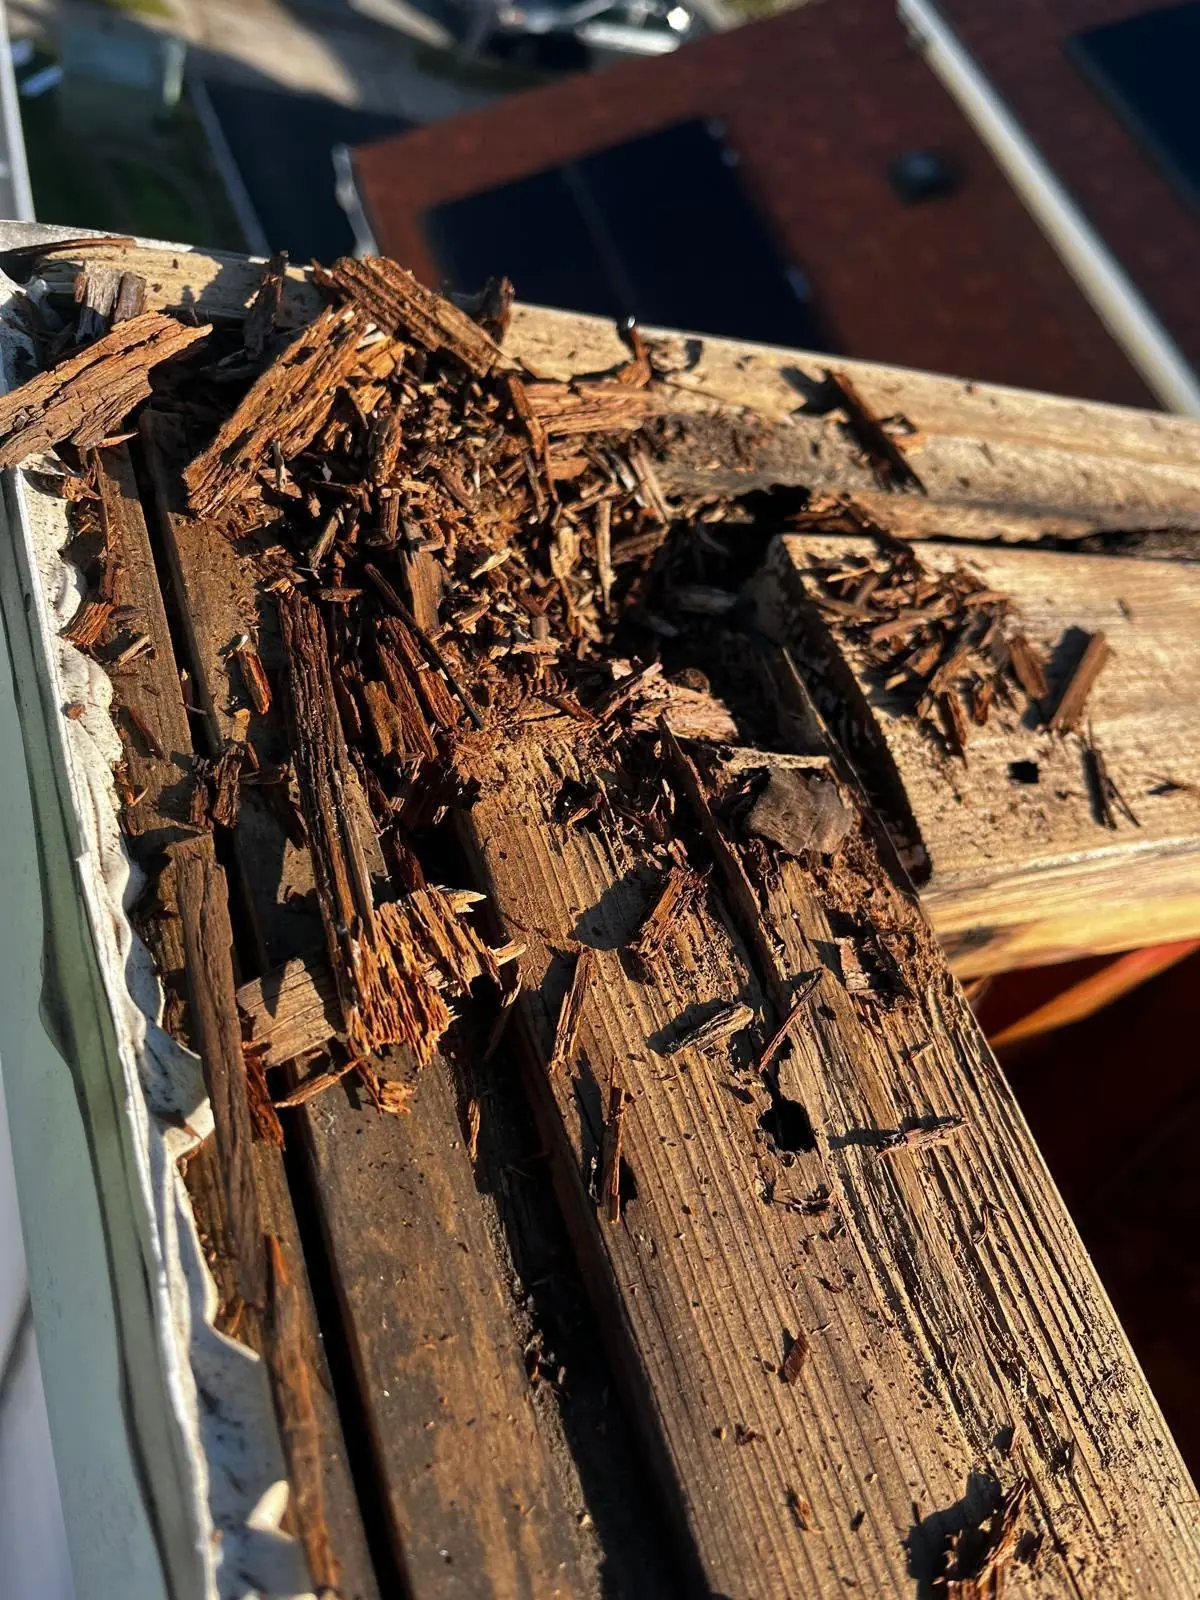
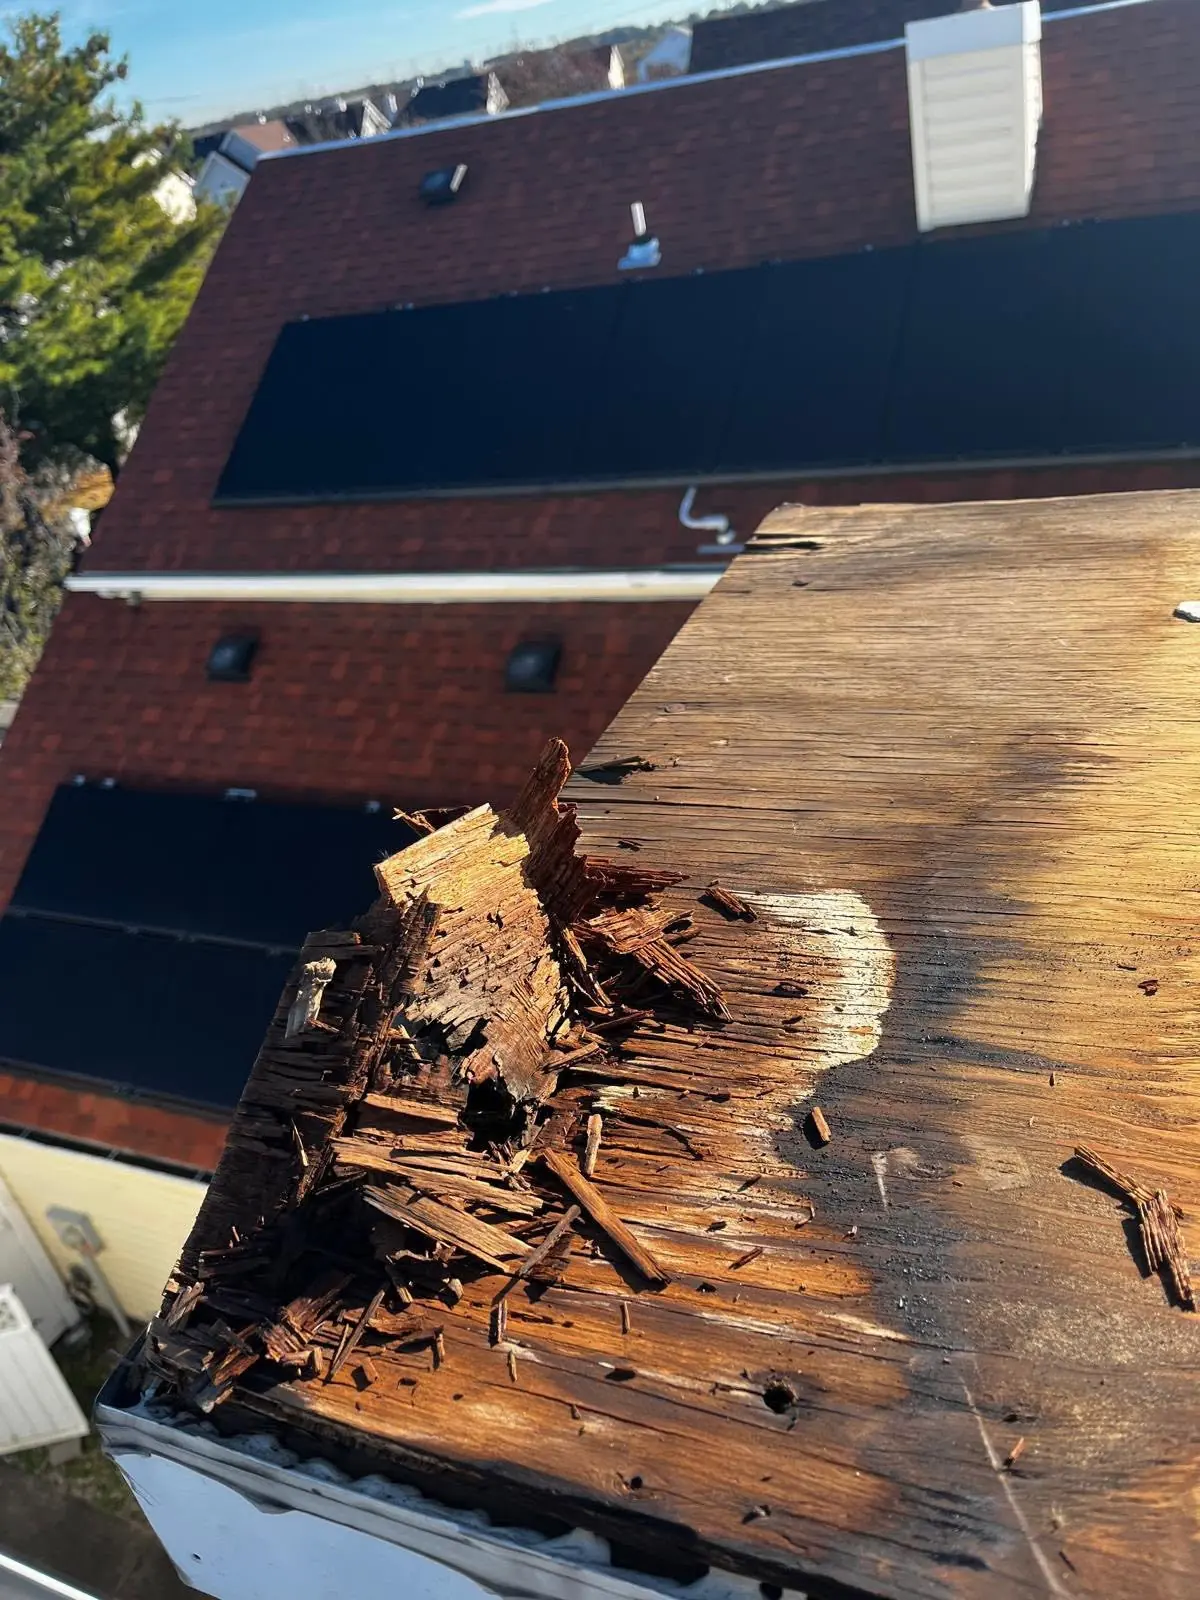
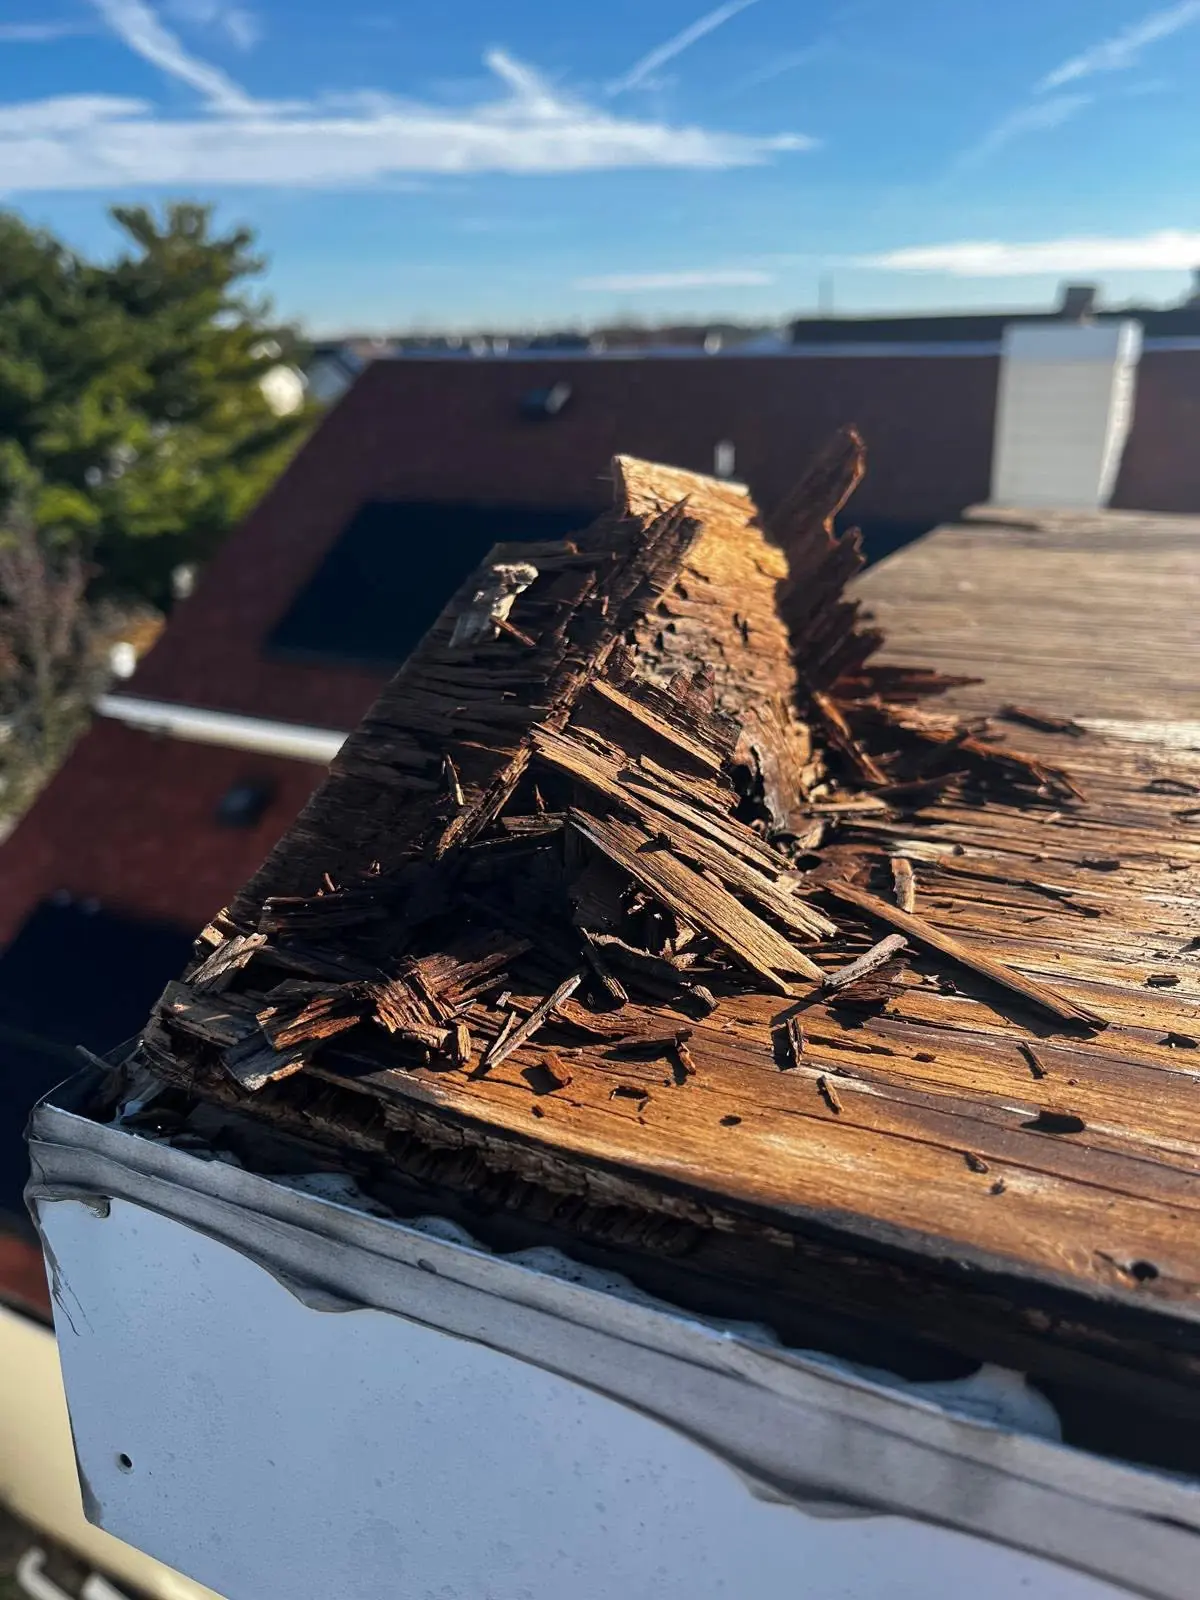
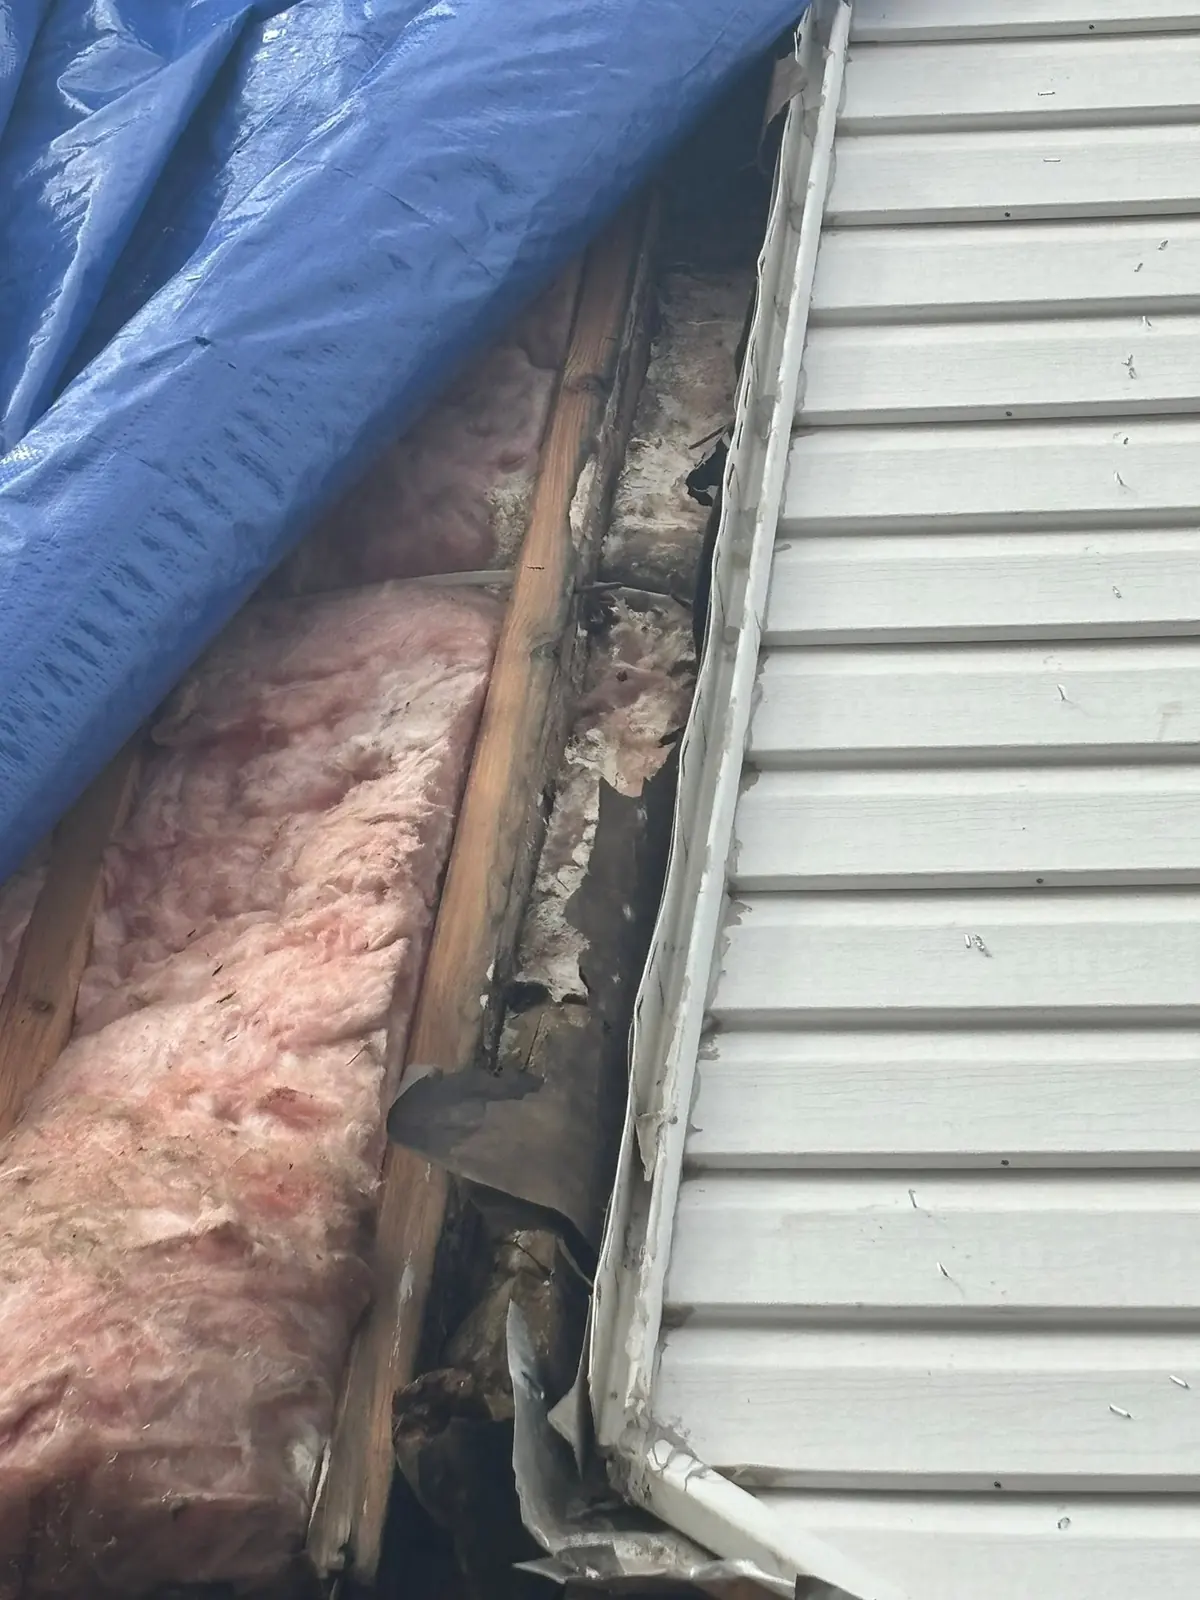
| Rotted roof edge framing and rotted decking near a skylight | Slow leaks can reach the wood without showing on the ceiling | What happens to rotted wood once it is found? |
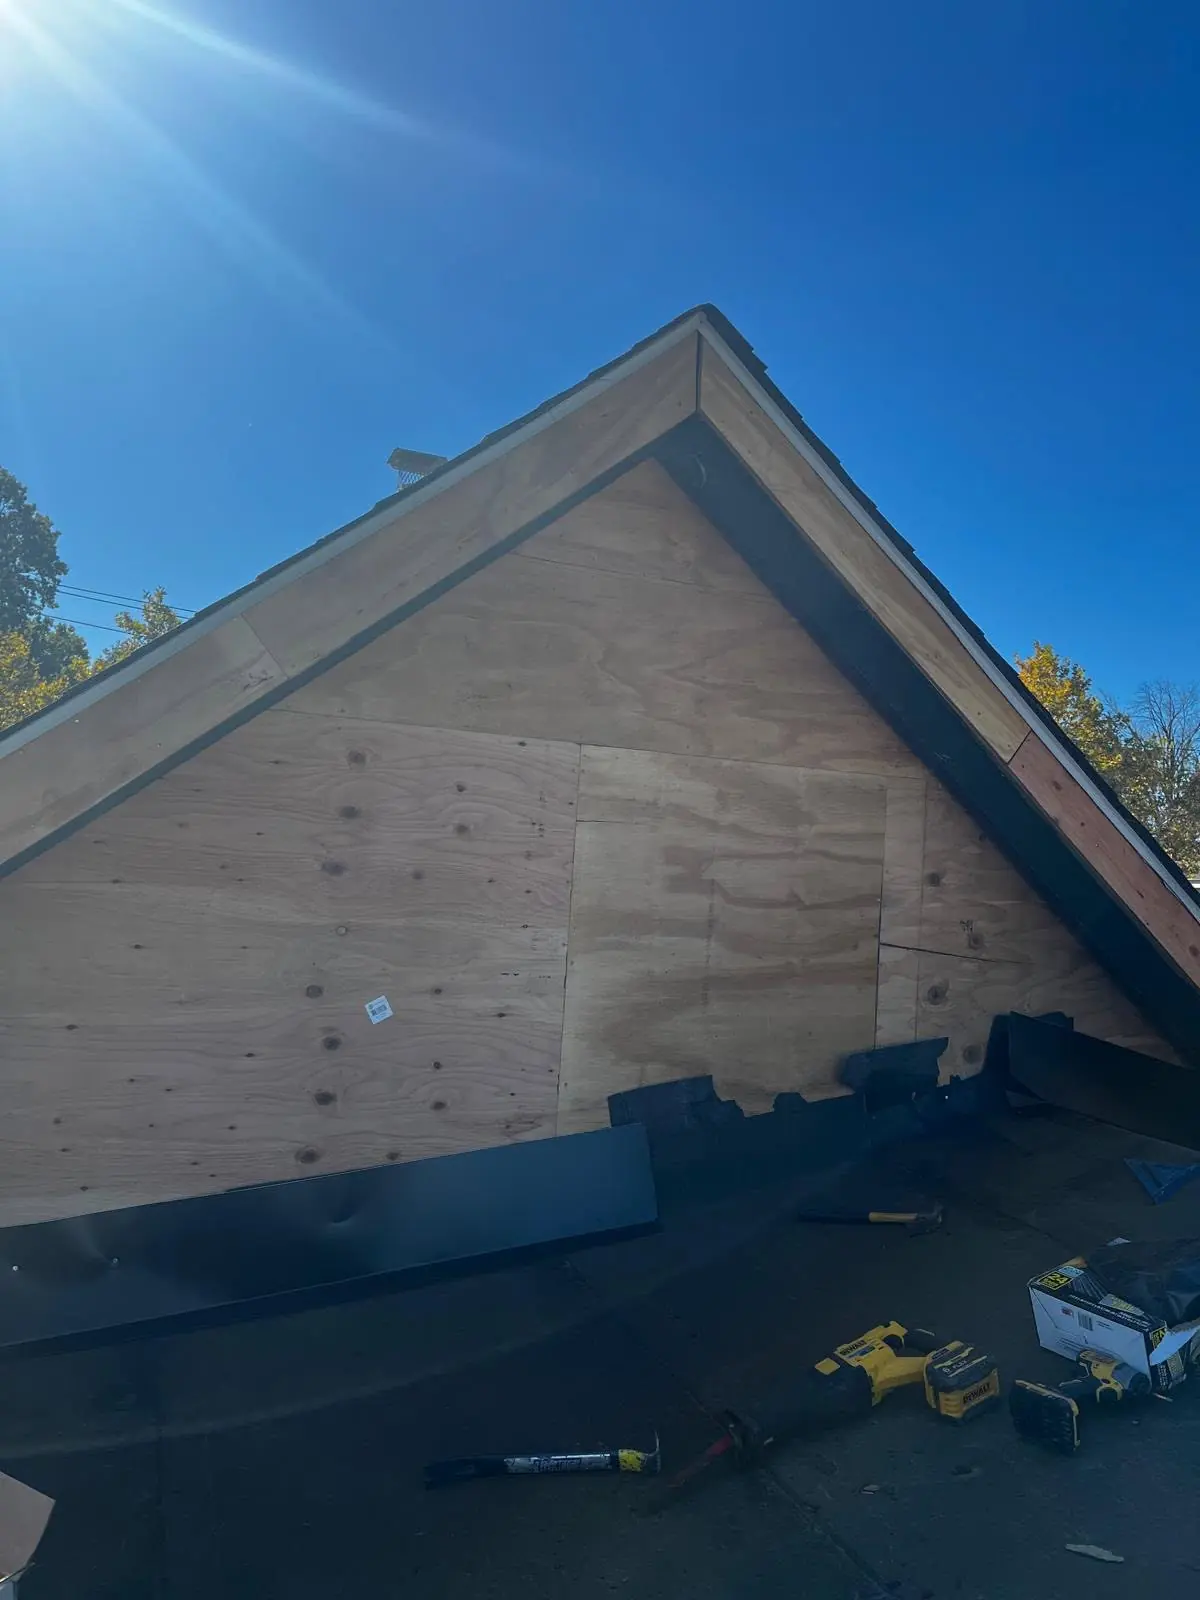
| New low-slope membrane at a dormer and a completed membrane with parapet edges | Flat roofs depend on seams, edges and wall transitions | How are the edges and wall transitions finished? |
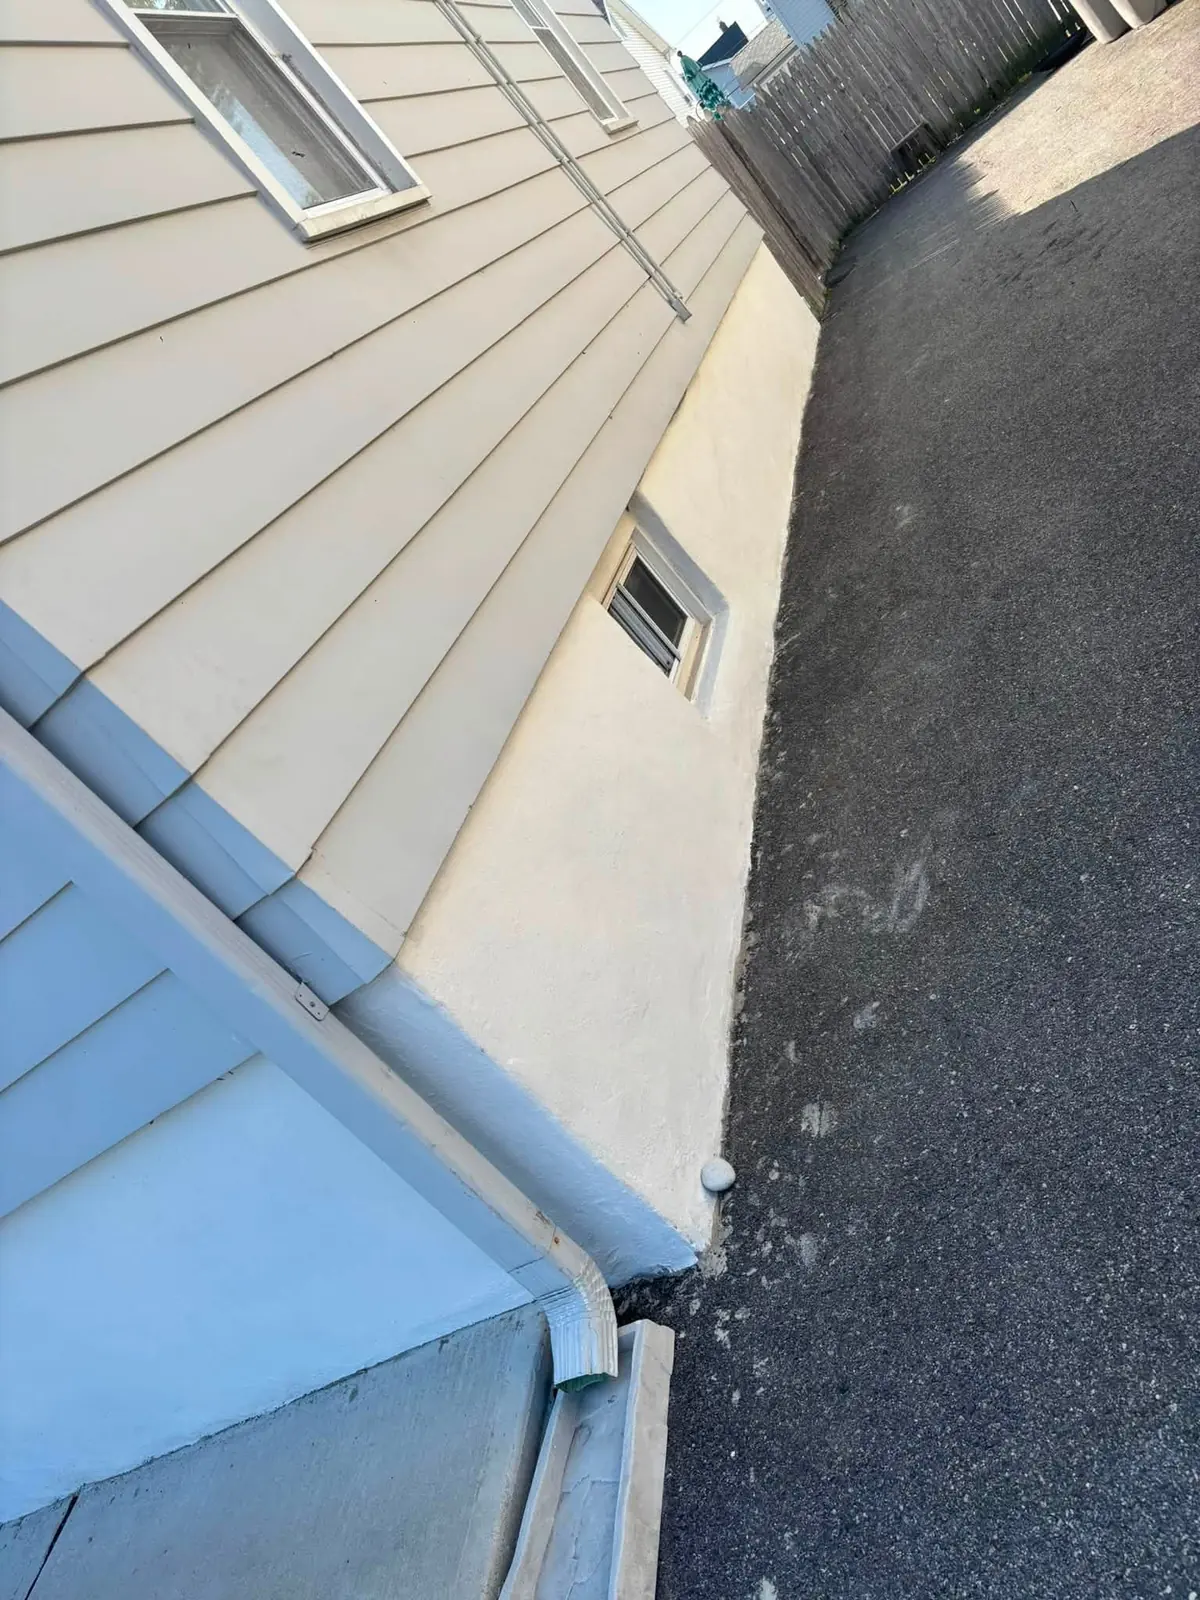
Repair photos are less pretty than new-roof photos, and that is why they are useful. They show what was behind the symptom. One frame shows a fallen branch that tore a gutter and damaged vinyl siding; another shows water-damaged wall framing and sill exposed behind siding. Wood like that has to be cut out and replaced, not painted over.
Our roof repair page covers how we scope a leak, and the post on common roof leaks and how to fix them explains the usual culprits.
The flat-roof photos show a different kind of work. A crew installing a new flat roof membrane on a city row house, a new membrane on a low-slope roof with new sheathing on the dormer wall, and a completed membrane with parapet edges all point to the same thing: on a low-slope roof the quality is in the edges and transitions.
What should chimney liner, cap and flashing photos look like?
Good chimney liner photos show a stainless steel liner run inside the flue, a clean connection at the thimble or tee, and the old corroded liner removed. Good cap and flashing photos show a stainless cap on sound brick with new copper flashing, and a rusted chase cover replaced with a new metal one.
The chimney gallery documents both what comes out and what goes in. That pairing matters, because a liner is invisible once the job is done.
Liners
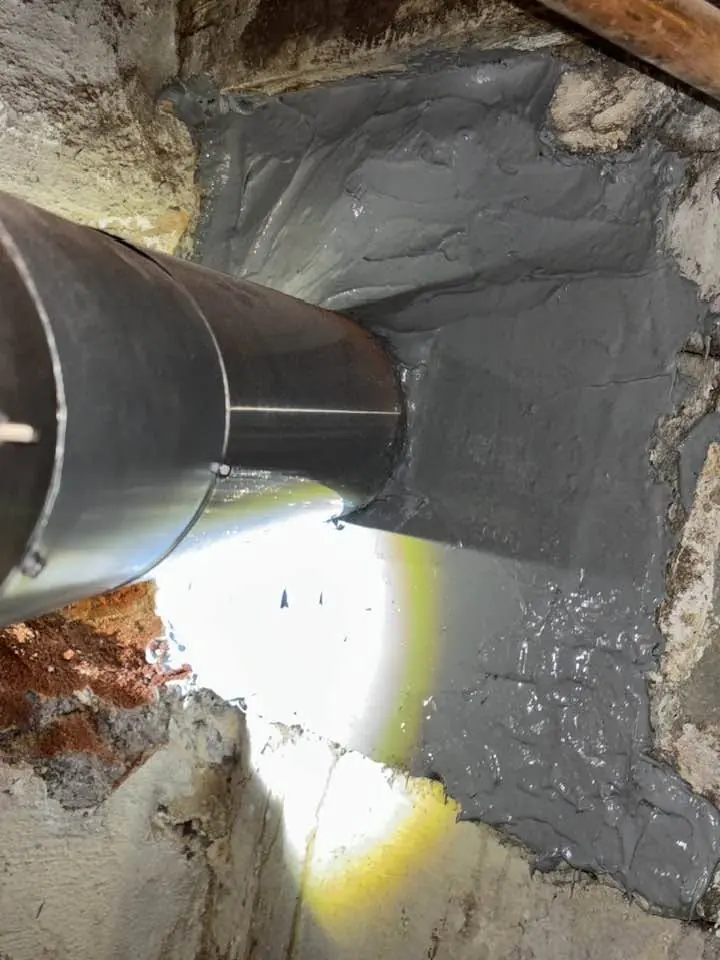
Several photos show old liners being removed: a corroded aluminum flexible liner pulled from a chimney, and a collapsed, corroded flue pipe removed from another. Others show the replacement, a stainless steel liner run inside an old masonry flue, a new liner connected at the thimble, and a tee connection in the basement. The Chimney Safety Institute of America notes that liners serving solid-fuel appliances should be insulated, which is a good question for any liner quote. Our chimney liner installation page walks through the process.
Caps, flashing and covers
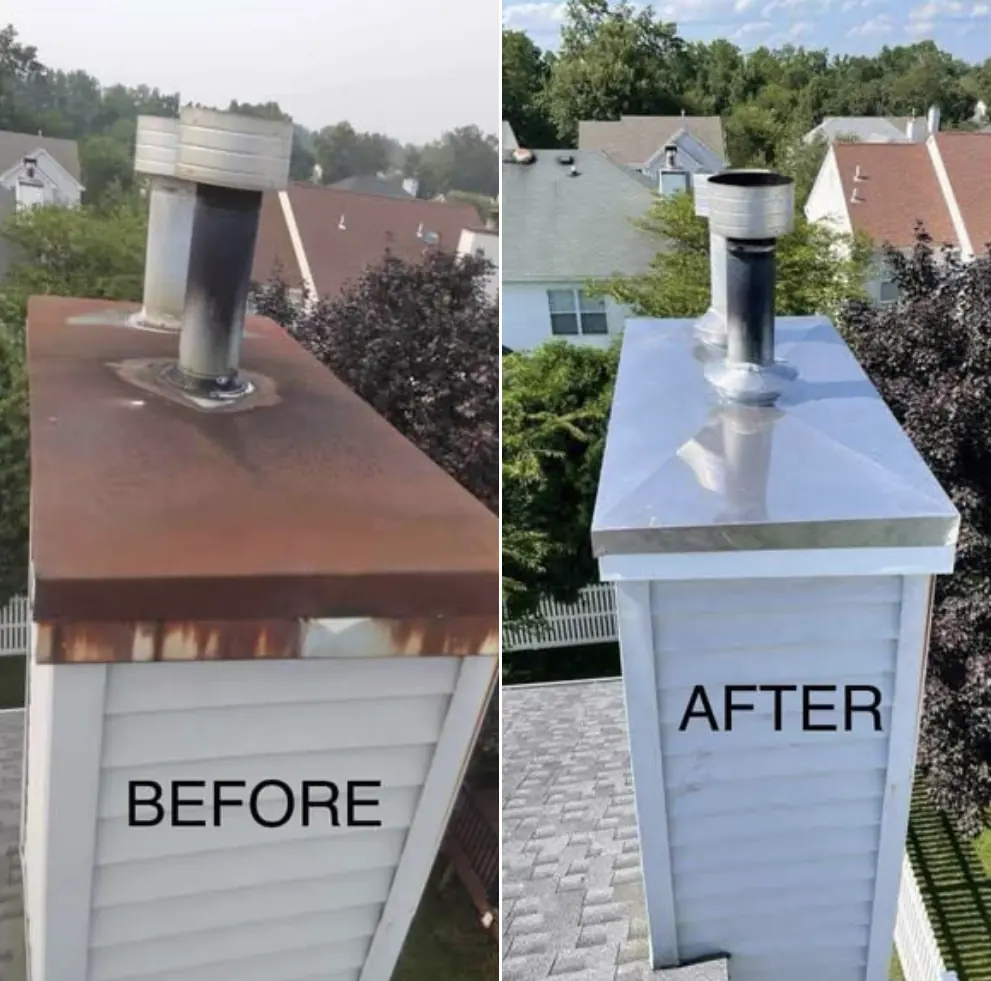
One photo shows a brick chimney with new copper flashing and a stainless chimney cap. Another is a before and after of a rusted chase cover replaced with a new metal cover. Details like these keep water out of the chimney structure; see chimney caps and chase covers for the options.
Masonry condition
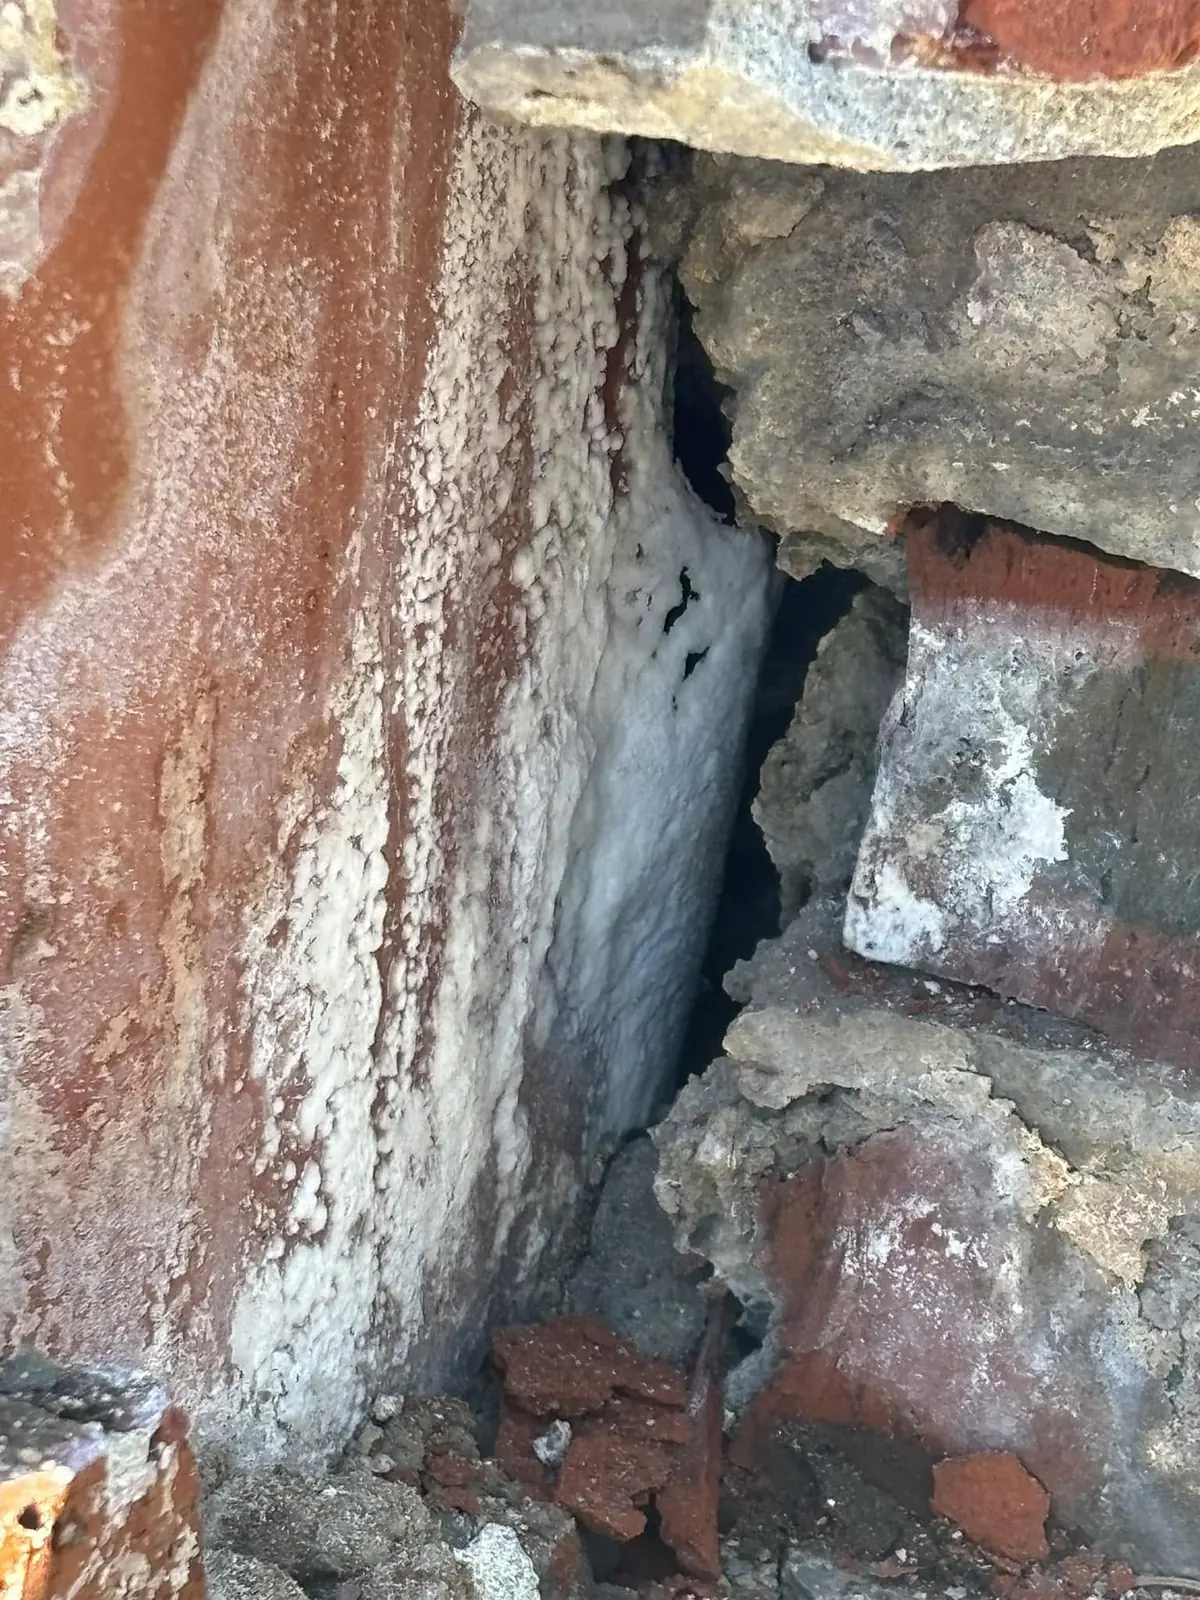
A photo of deteriorated chimney brick and mortar behind old flashing shows why flashing and masonry are inspected together. If you see that kind of wear on your own chimney, start with chimney repair.
What separates good masonry steps and poured concrete walks?
Good masonry steps start with a solid core, whether concrete block against a brick foundation or a poured base, then a brick, stone or concrete finish. Good poured concrete walks start with graded wood forms and finish with control joints. The progress photos show those hidden stages; the finished photos show clean treads, railings and joints.
Masonry fails from the bottom. Steps that settle, tilt or pull away from the house almost always have a base or core problem, not a surface problem, which is why the photos of broken-out steps and block cores are some of the most useful on this page.
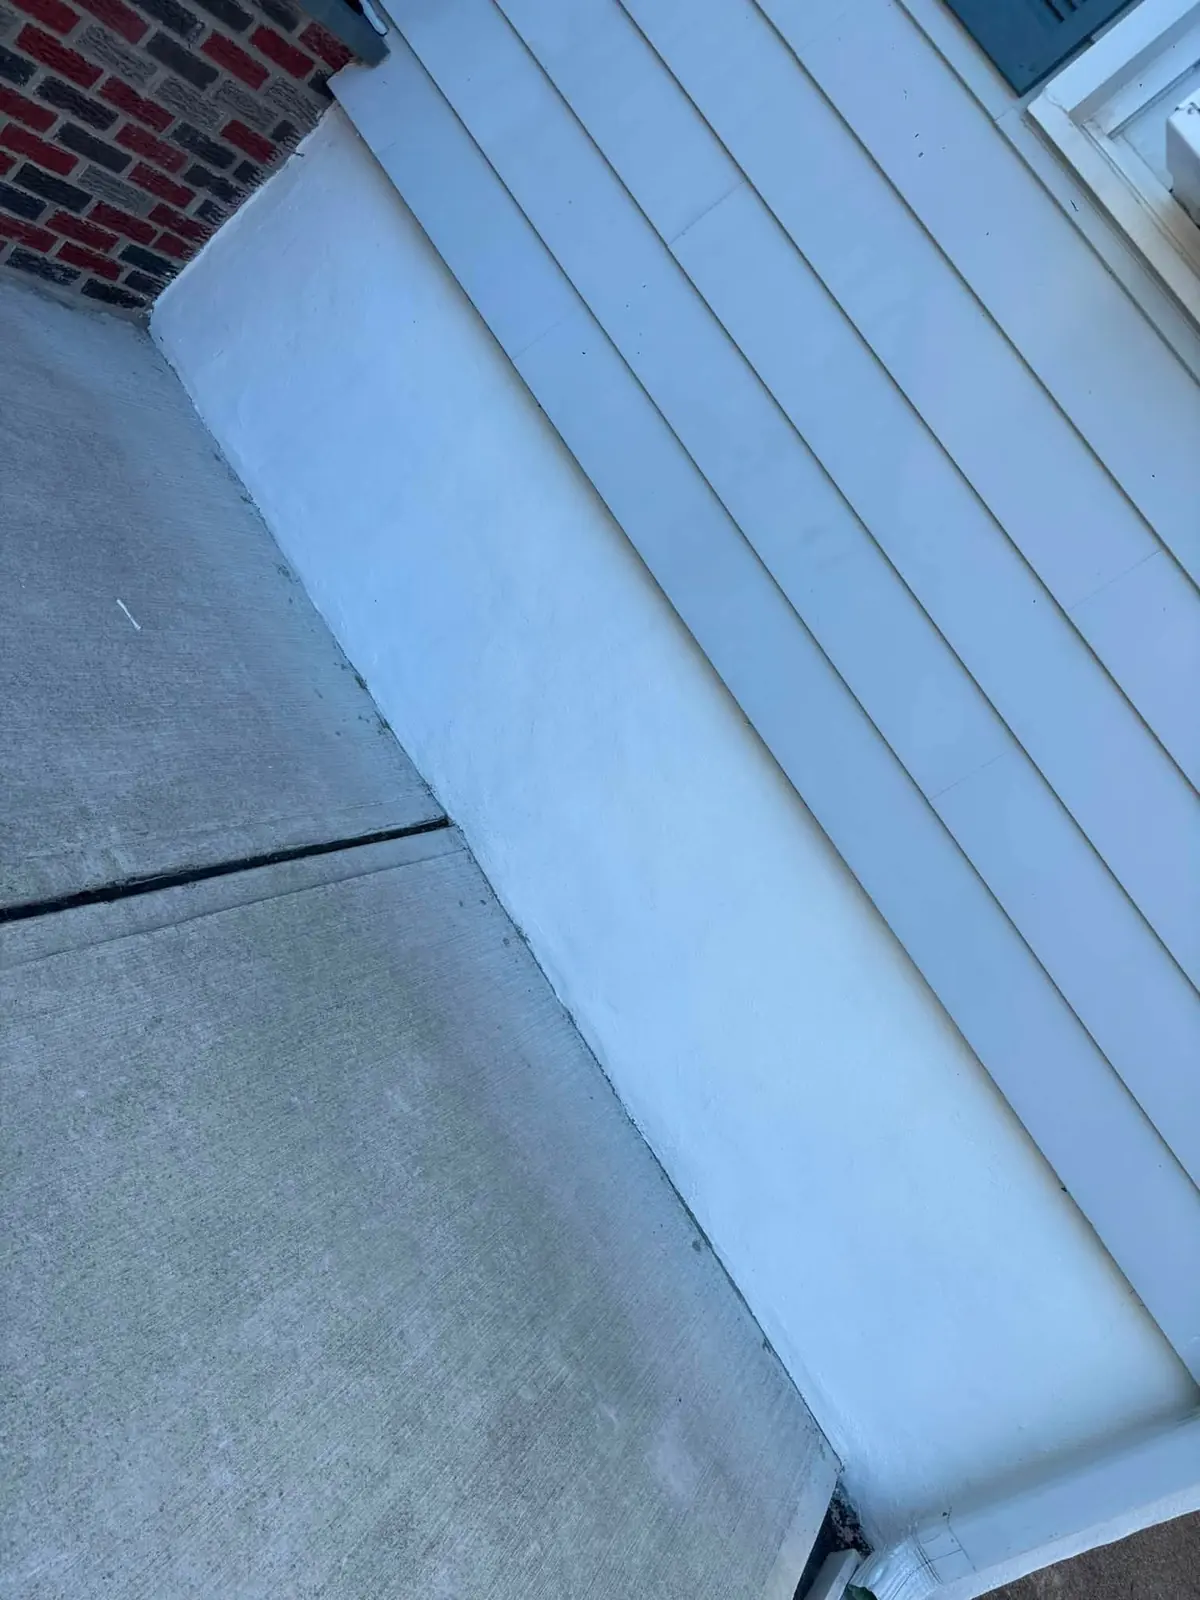
Look at how the pieces meet in the finished shots: a brick stoop landing on a poured concrete walk, stone treads on brick risers, rails anchored to the steps. Our pages on masonry steps and stoops, walkways and sidewalk replacement cover each type of work. If you are weighing a slab, read why a new walk starts with the base in our post on poured concrete sidewalk replacement, and see concrete and stone patios for the larger version of the same work.
Break out the old work
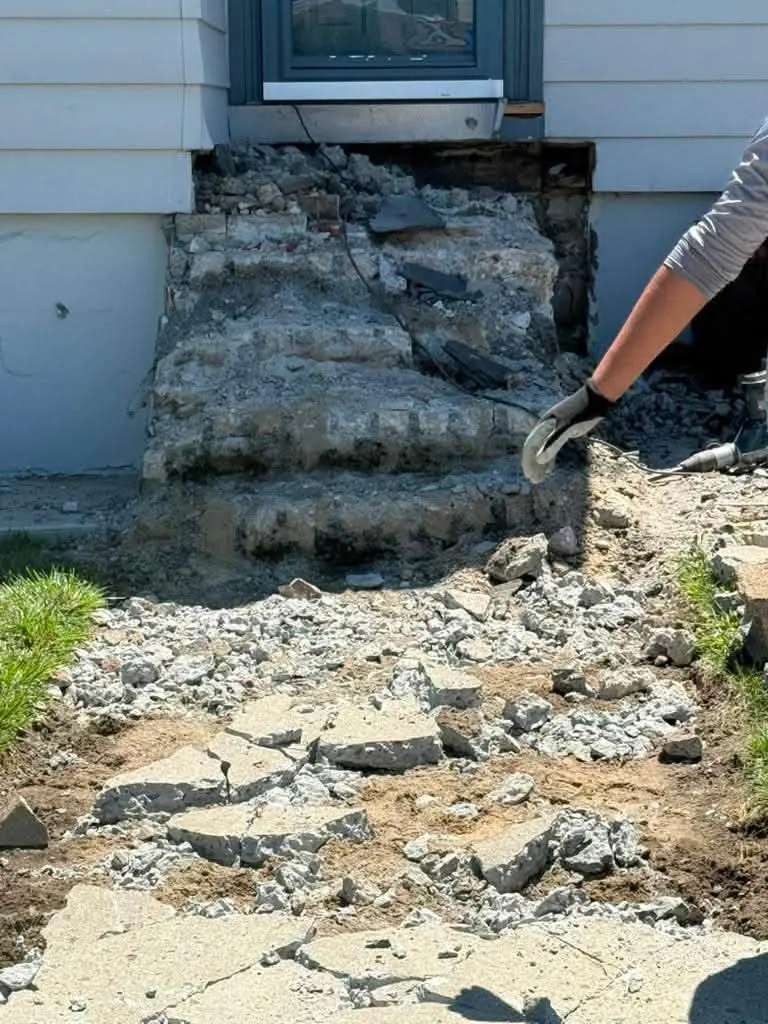
One photo shows old, crumbling concrete steps being broken out before a rebuild. Failed steps are removed completely rather than patched over.
Build the core
A concrete block core for new front steps is shown going up against a brick foundation. This is the structure the brick, stone or concrete finish sits on.
Set and grade the forms
For a walk, wood forms are set and graded before a pour. The slope and the form edges decide how the finished surface drains.
Pour and joint
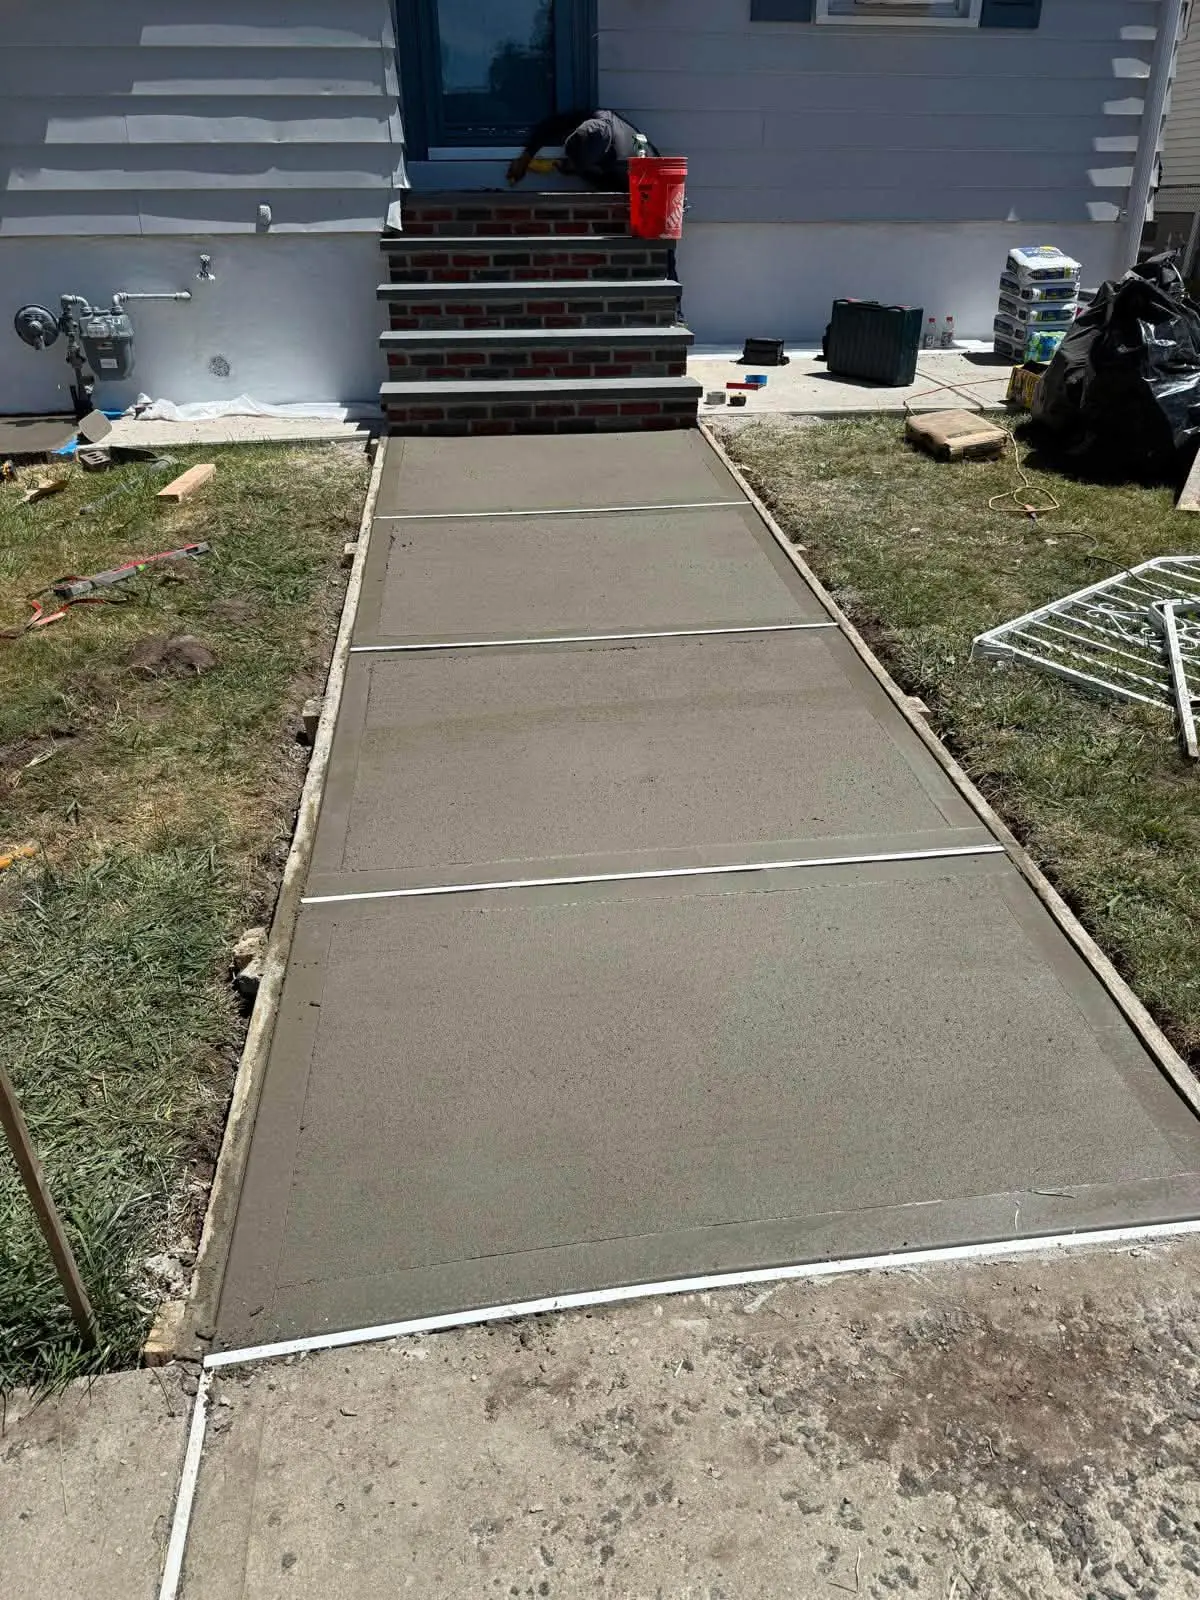
A freshly poured walkway is shown with control joints leading to brick steps. Joints give the slab planned places to crack as it moves.
Finish and rail
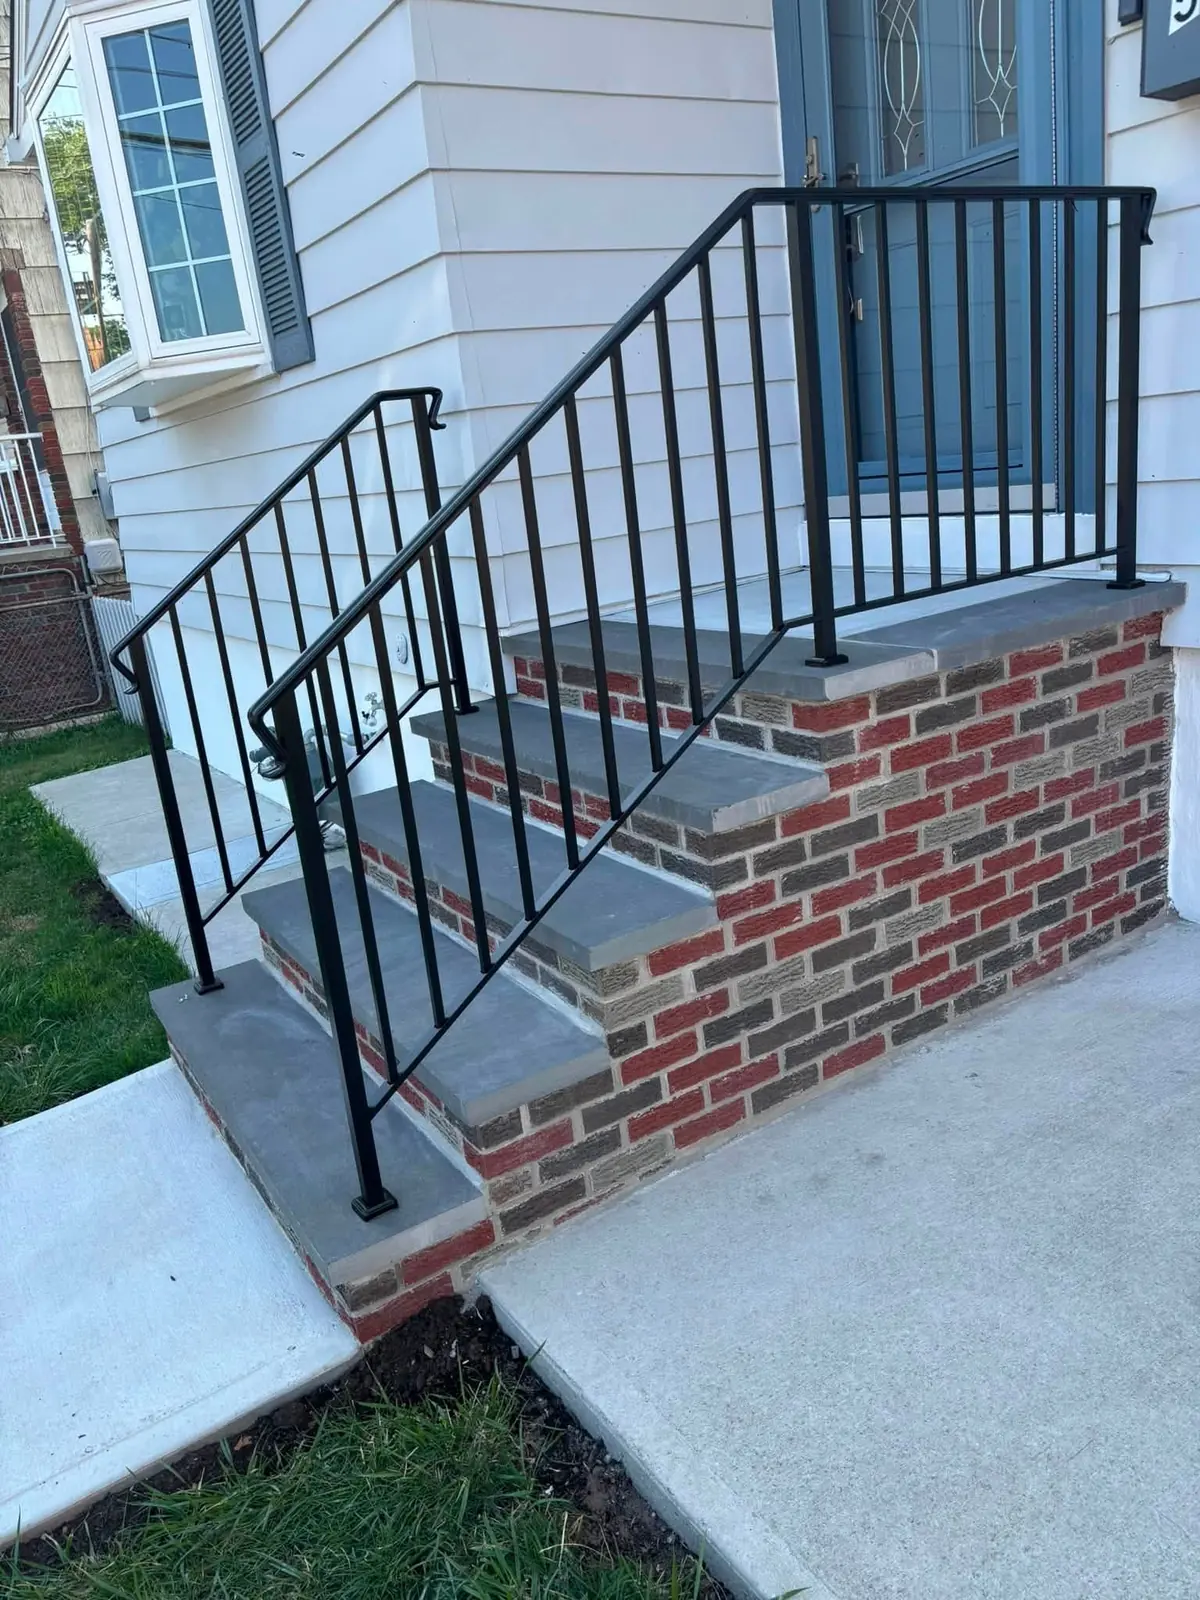
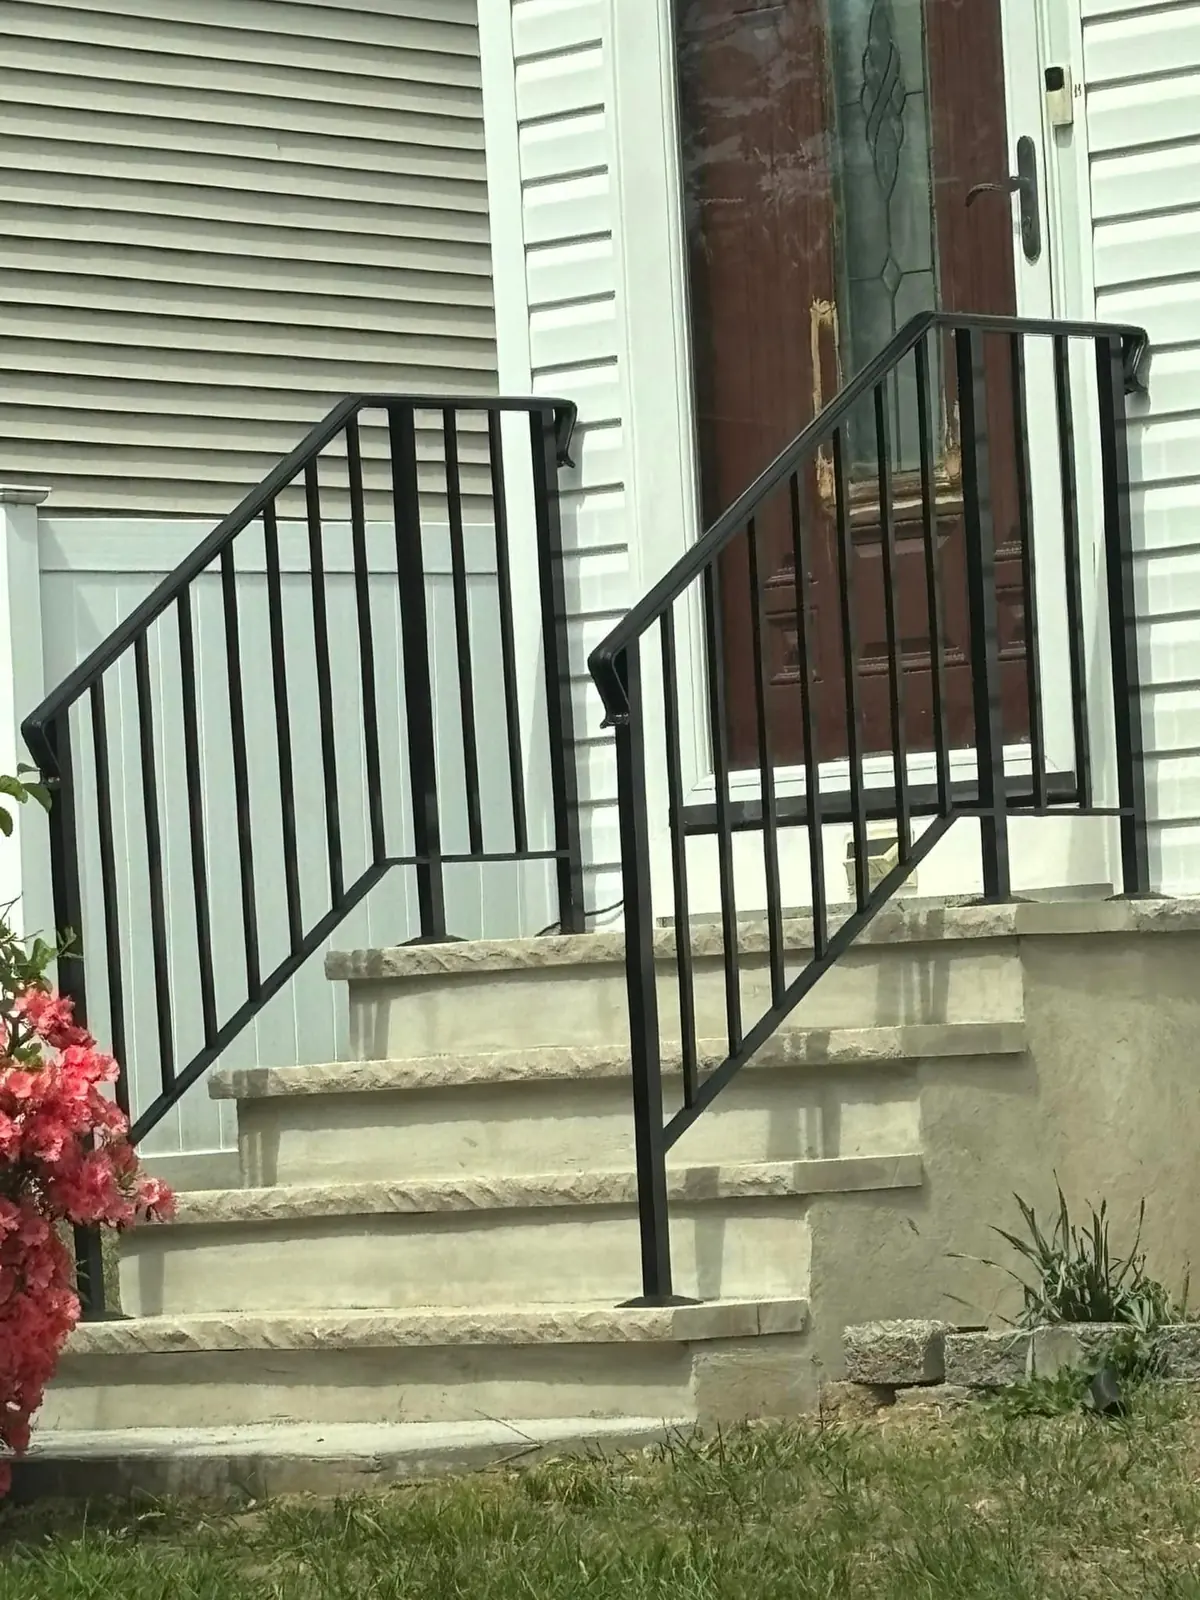
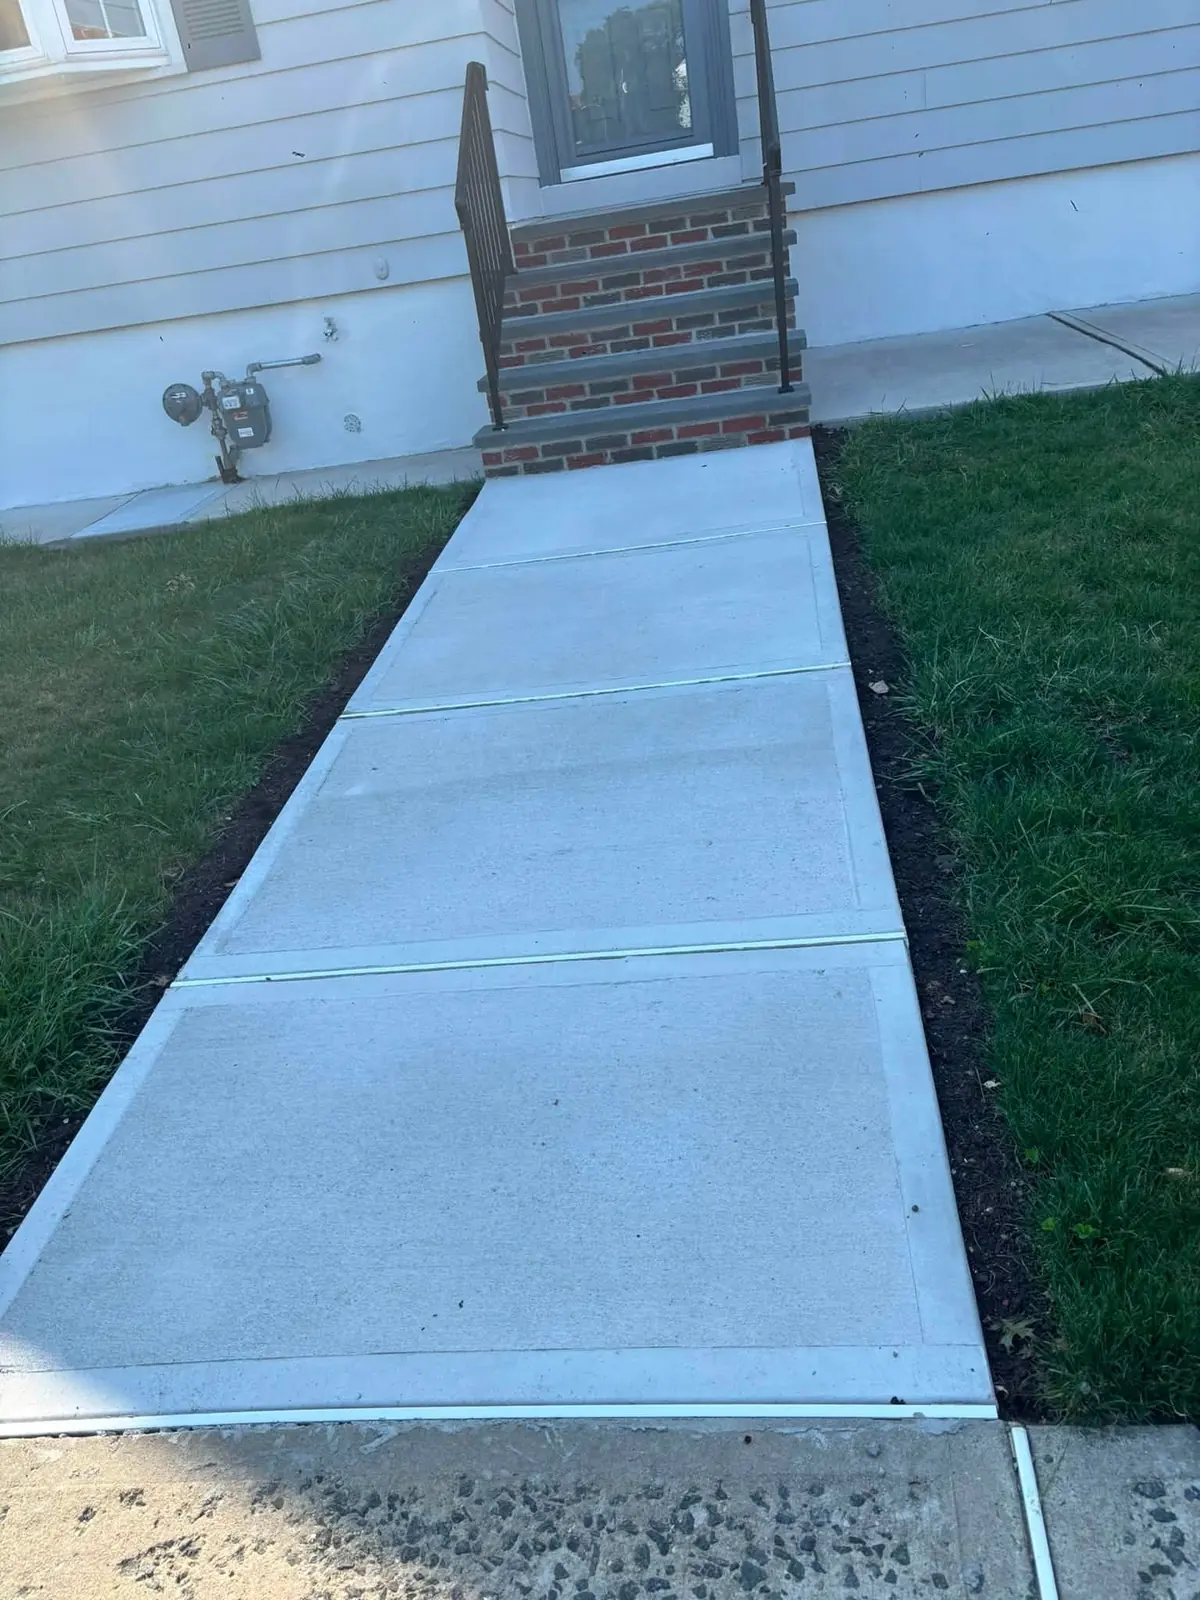
The finished photos show brick steps with stone treads and black iron railings, a brick stoop with a poured concrete walk, and concrete steps with iron handrails.
What do deck and pool deck photos show about quality?
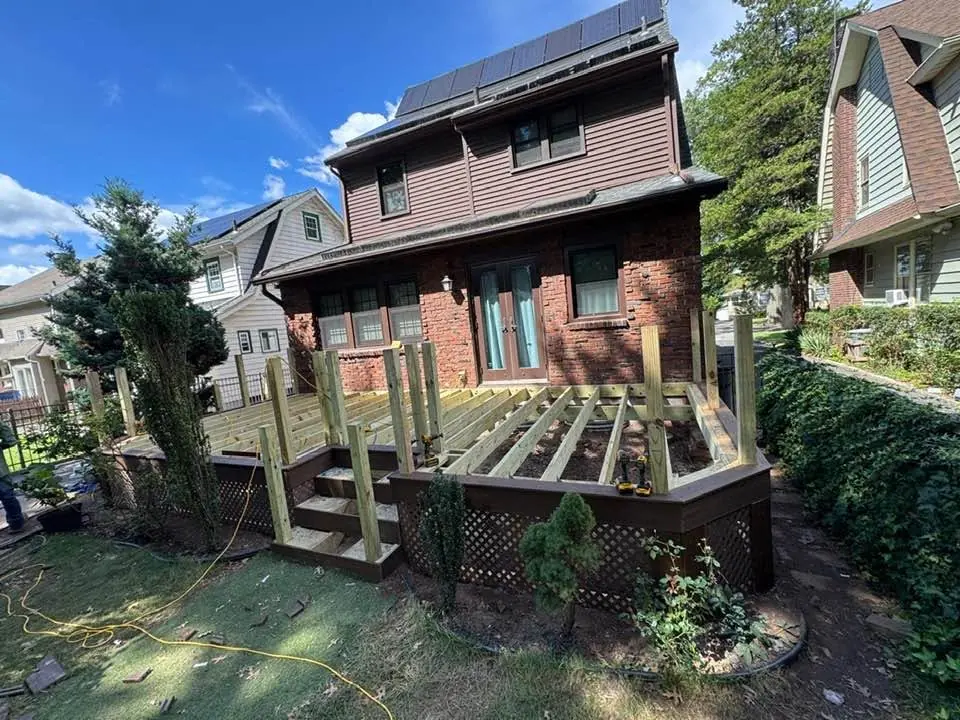
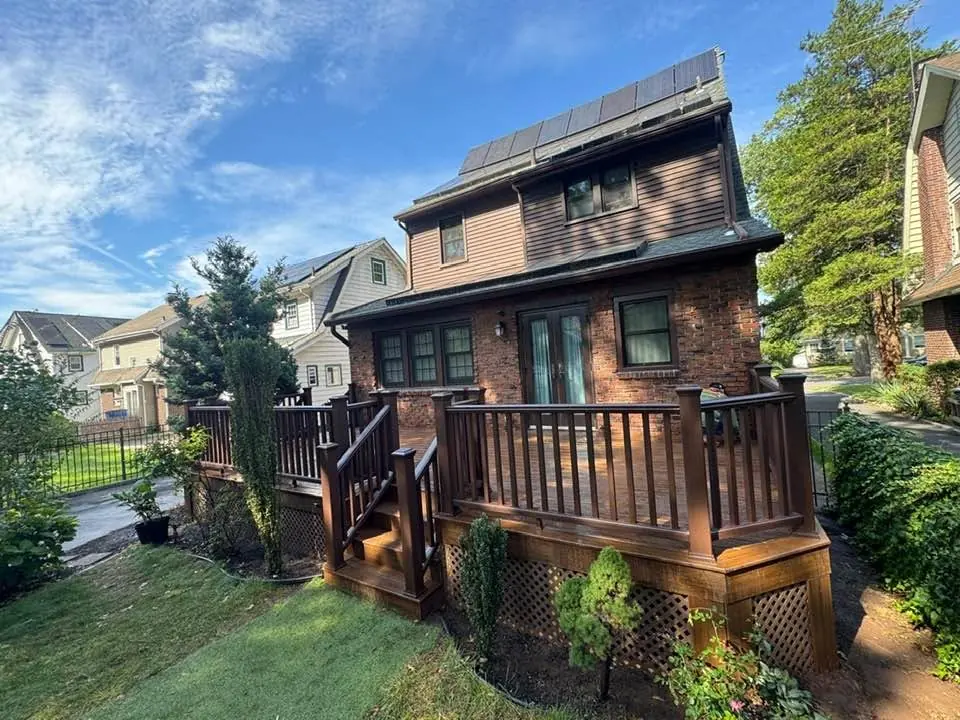
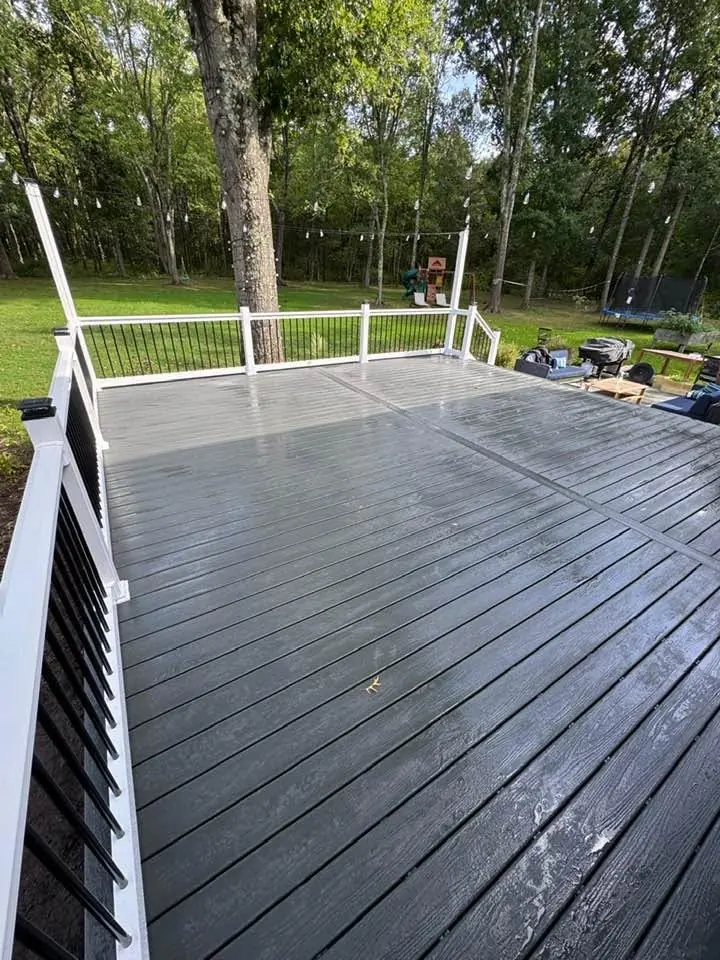
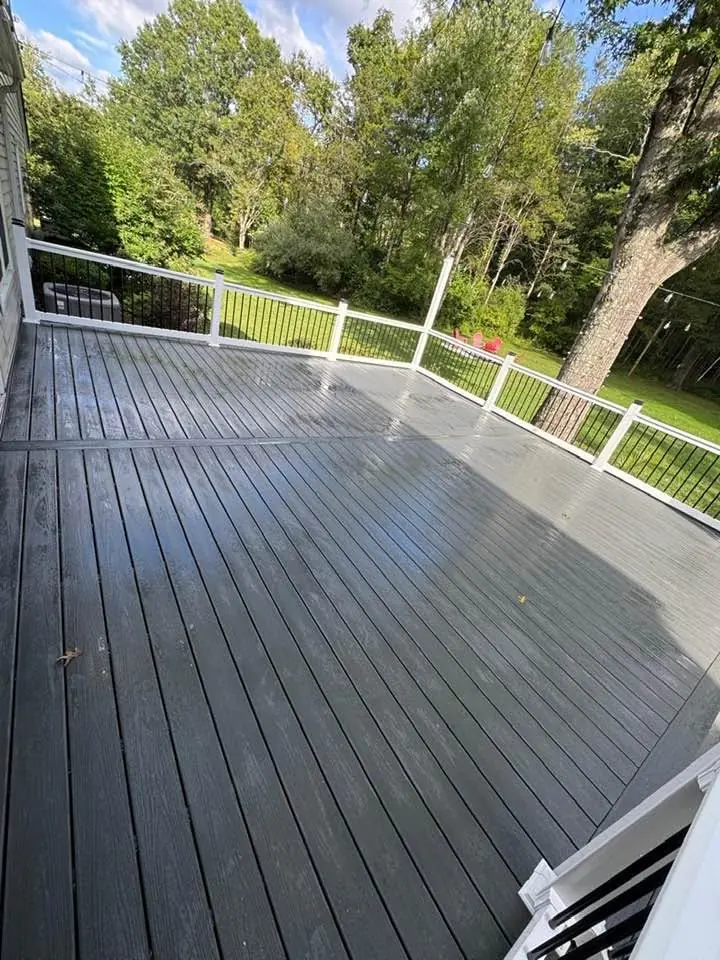
Deck photos show framing on footings, railings, stairs and the decking surface. Quality looks like straight framing set on proper footings, evenly spaced decking, guards at code height, solid stairs with handrails, and tidy skirting. The framing photos matter most, because the structure disappears once the deck boards go down.
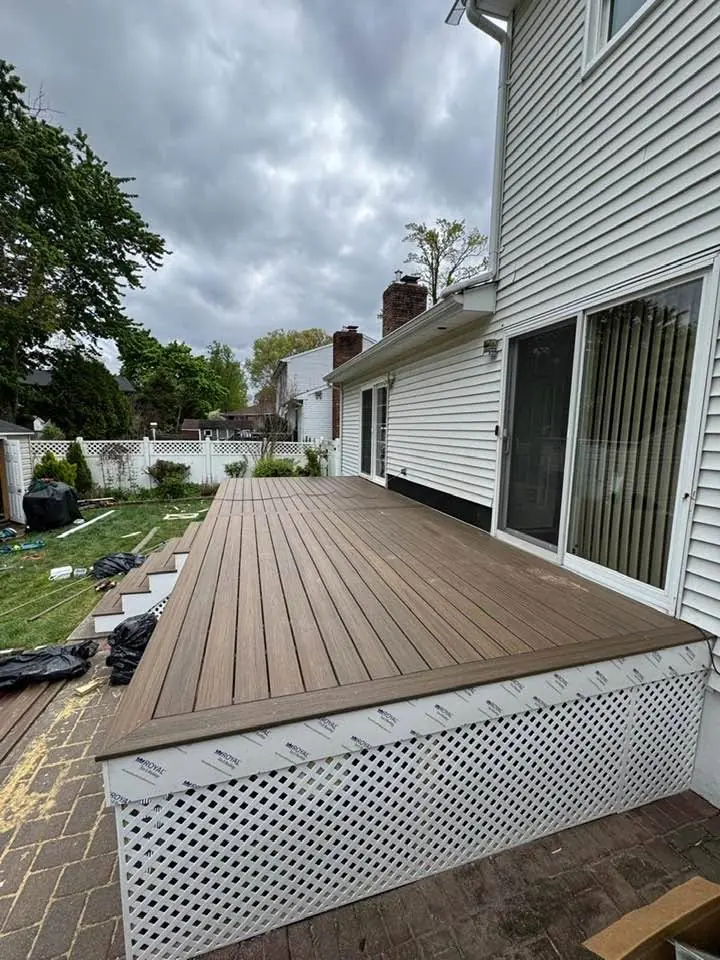
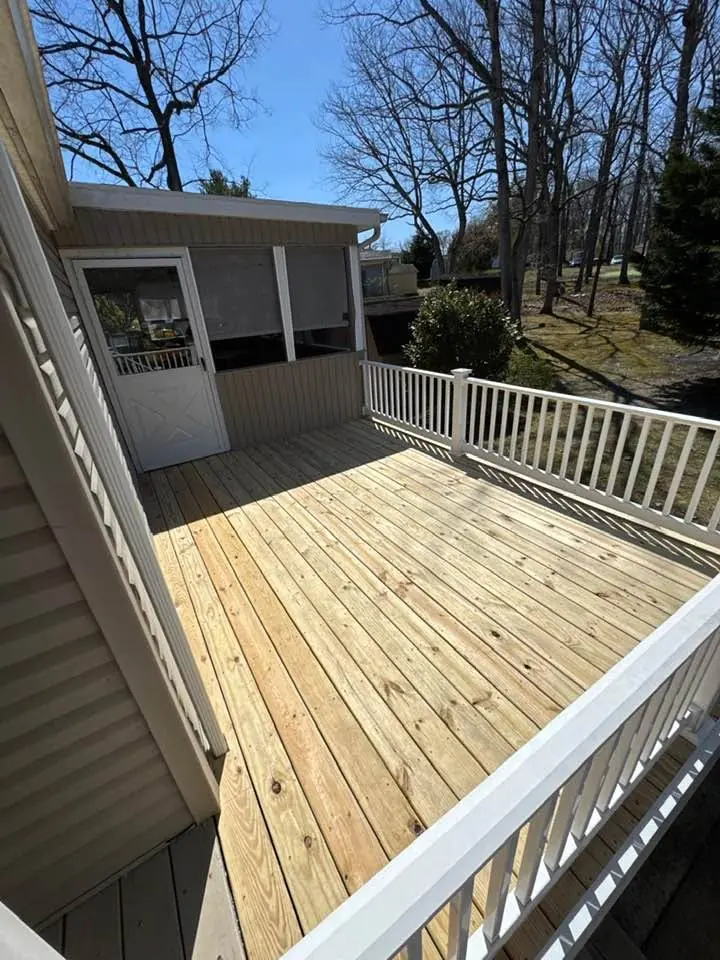
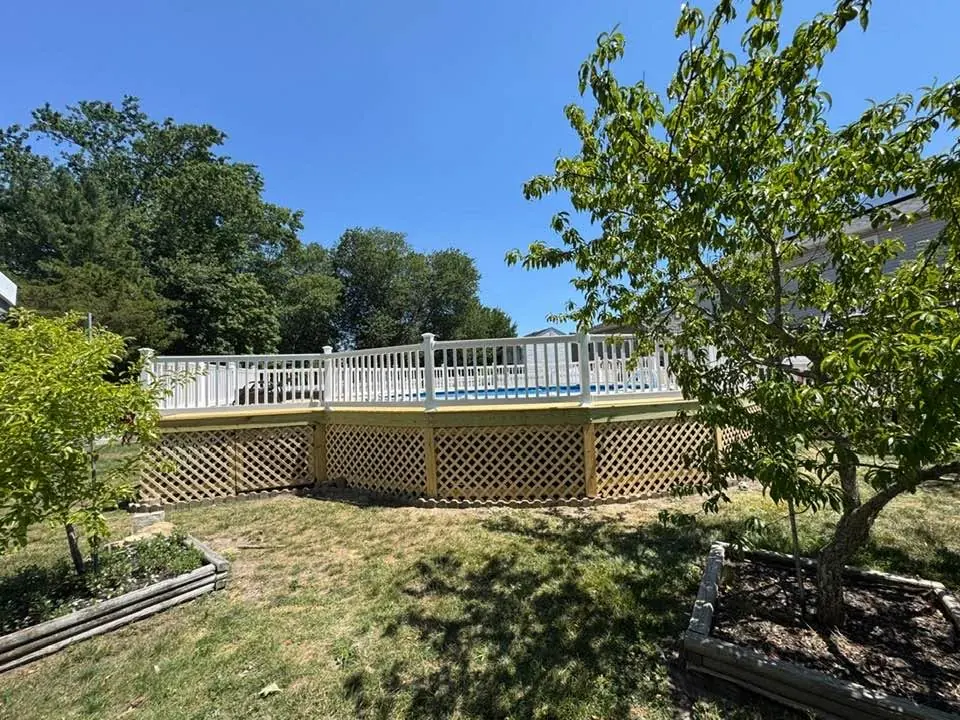
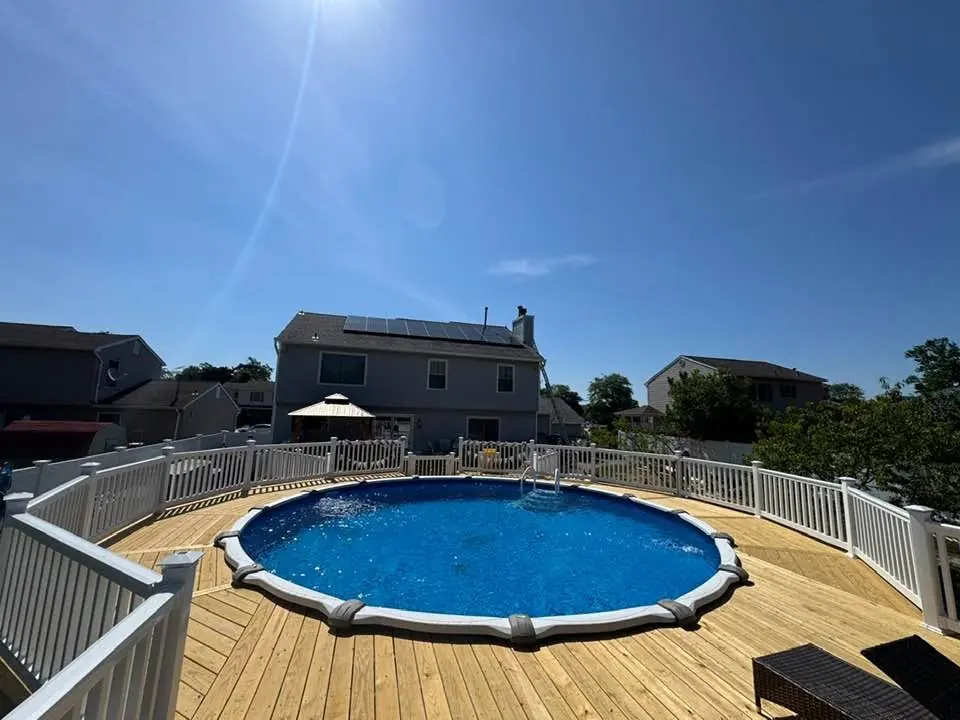
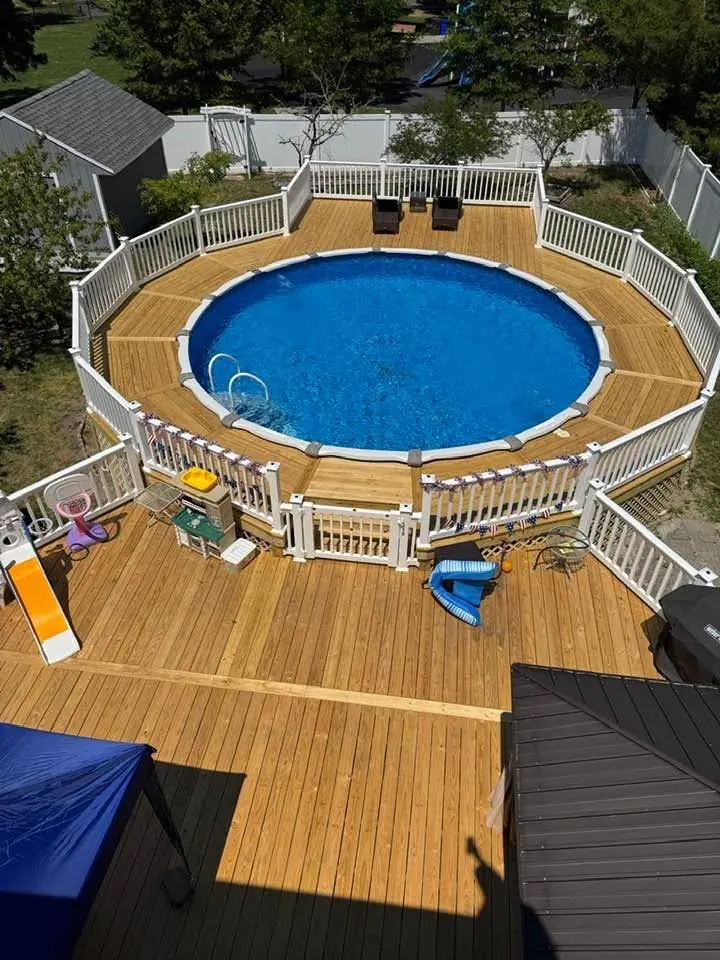
The deck gallery is the largest group, and it covers composite decks, pressure-treated decks, deck rebuilds and wraparound decks around above-ground pools. Two photos show framing: new deck framing on footings beside a two-story home, and a deck rebuild framing behind a brick house. Those are the ones to study.
What to look at in a framing photo
- Footings. Frost depth is set by the local building department. One published North Jersey municipal deck guide calls for pier footings at least 36 inches below grade.
- Ledger. The board that ties the deck to the house should be fastened with approved bolts or lags and flashed against moisture.
- Stairs and rails. That same guide requires guards on surfaces more than 30 inches above grade, at least 36 inches high, with balusters that stop a 4-inch sphere.
What the finished photos show
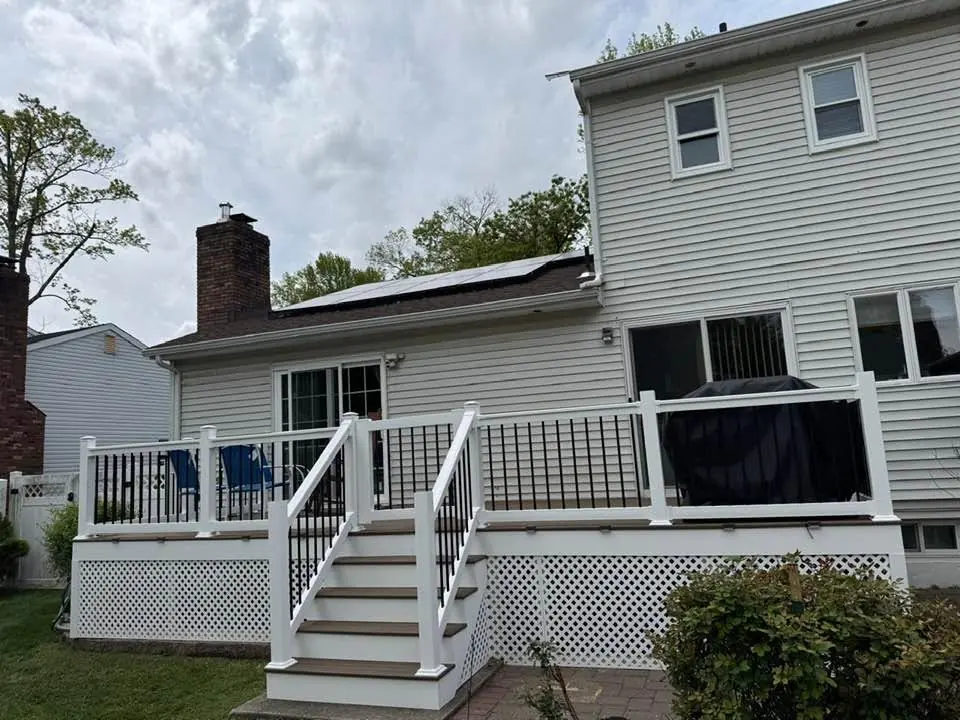
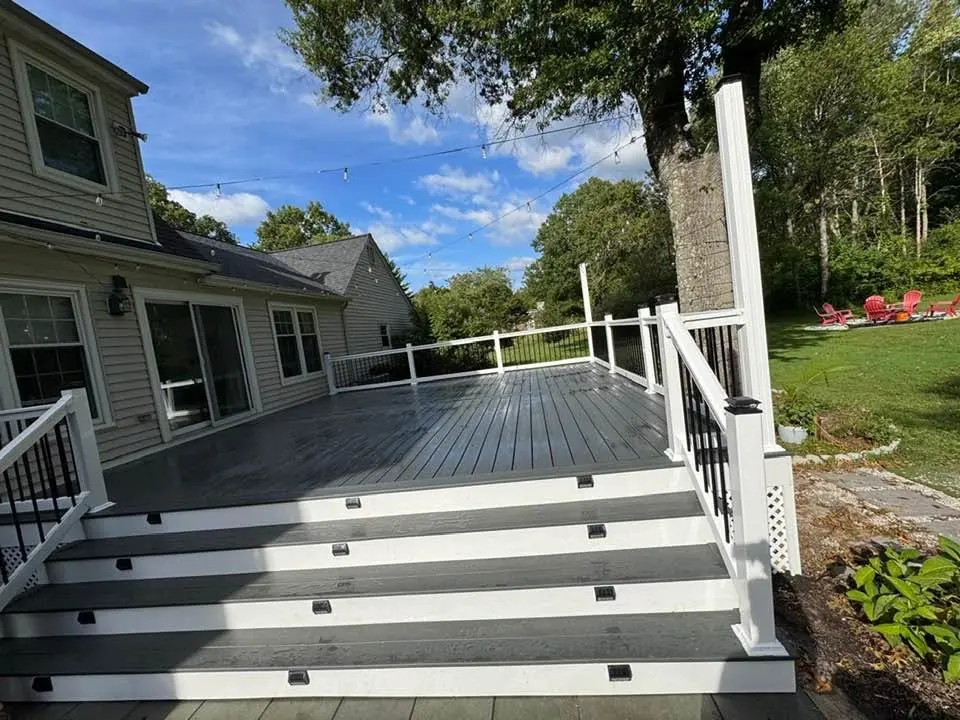
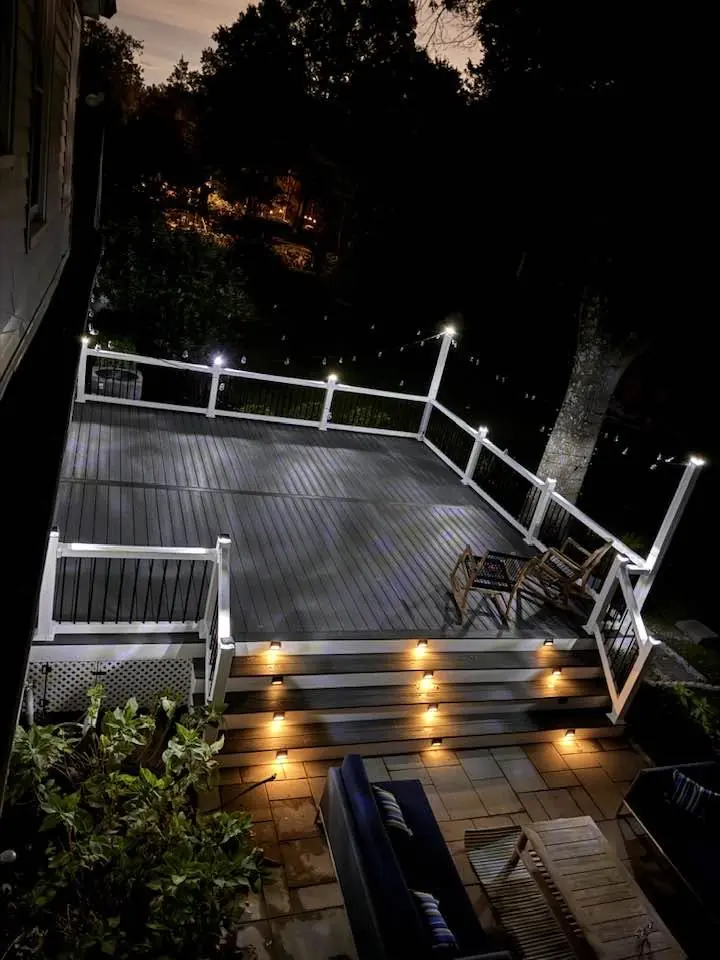
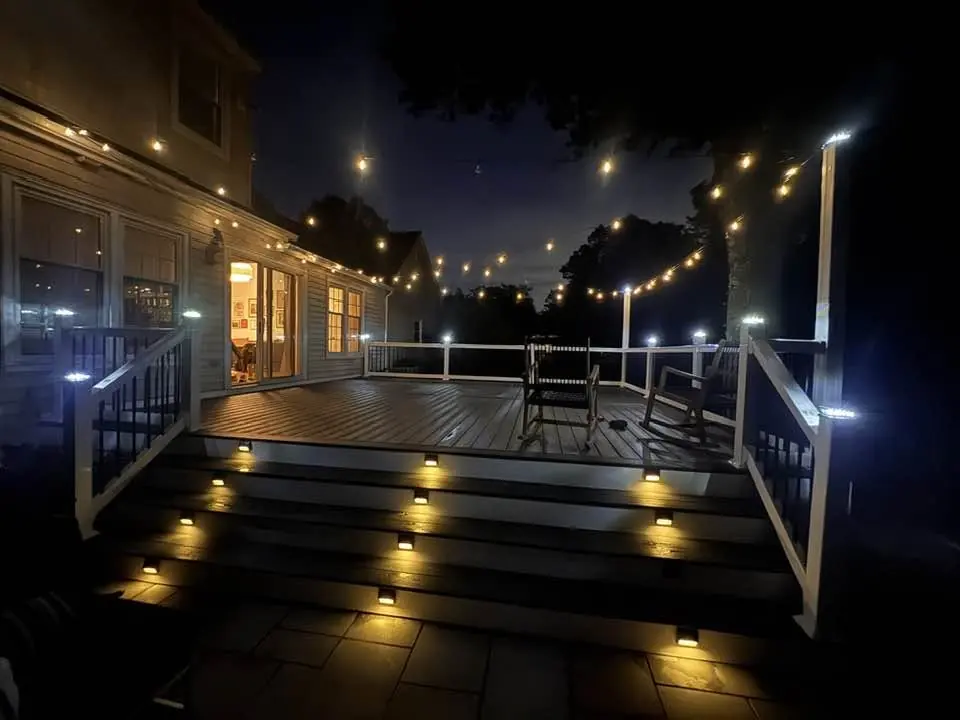
Finished photos show composite stairs with white rails and black balusters, a deck with stair lighting at night, and a deck with post lights and string lights. They also show lattice and vinyl skirting, and a pool deck joined to a lower deck. For how we build new, see new deck installation; for older decks, see deck repair and restoration. Permits come from your town’s construction office under the NJ Uniform Construction Code.
What should you ask a contractor to show you, and how do you ask us?
Ask any contractor to show progress photos of the hidden work, not only finished ones, plus a written scope, proof of New Jersey home improvement registration, and proof of insurance. To ask us for photos of similar work, call or text (862) 271-1225 or use the contact page and describe your project.
Before you hire anyone, ask for these. A good contractor will not mind.
- Progress photos of the same type of work. Deck framing, tear-off, forms, liner connections.
- The scope in writing. What gets removed, what gets replaced and what is excluded.
- Registration and insurance. New Jersey home improvement contractors are listed on the state’s license verification system. Ours is NJ HIC #13VH13359900.
Photos support a decision but they are not a substitute for an on-site look at your own roof, chimney, steps or deck. Our guide to choosing a roofing contractor has more questions to ask.
Our crew in the photos
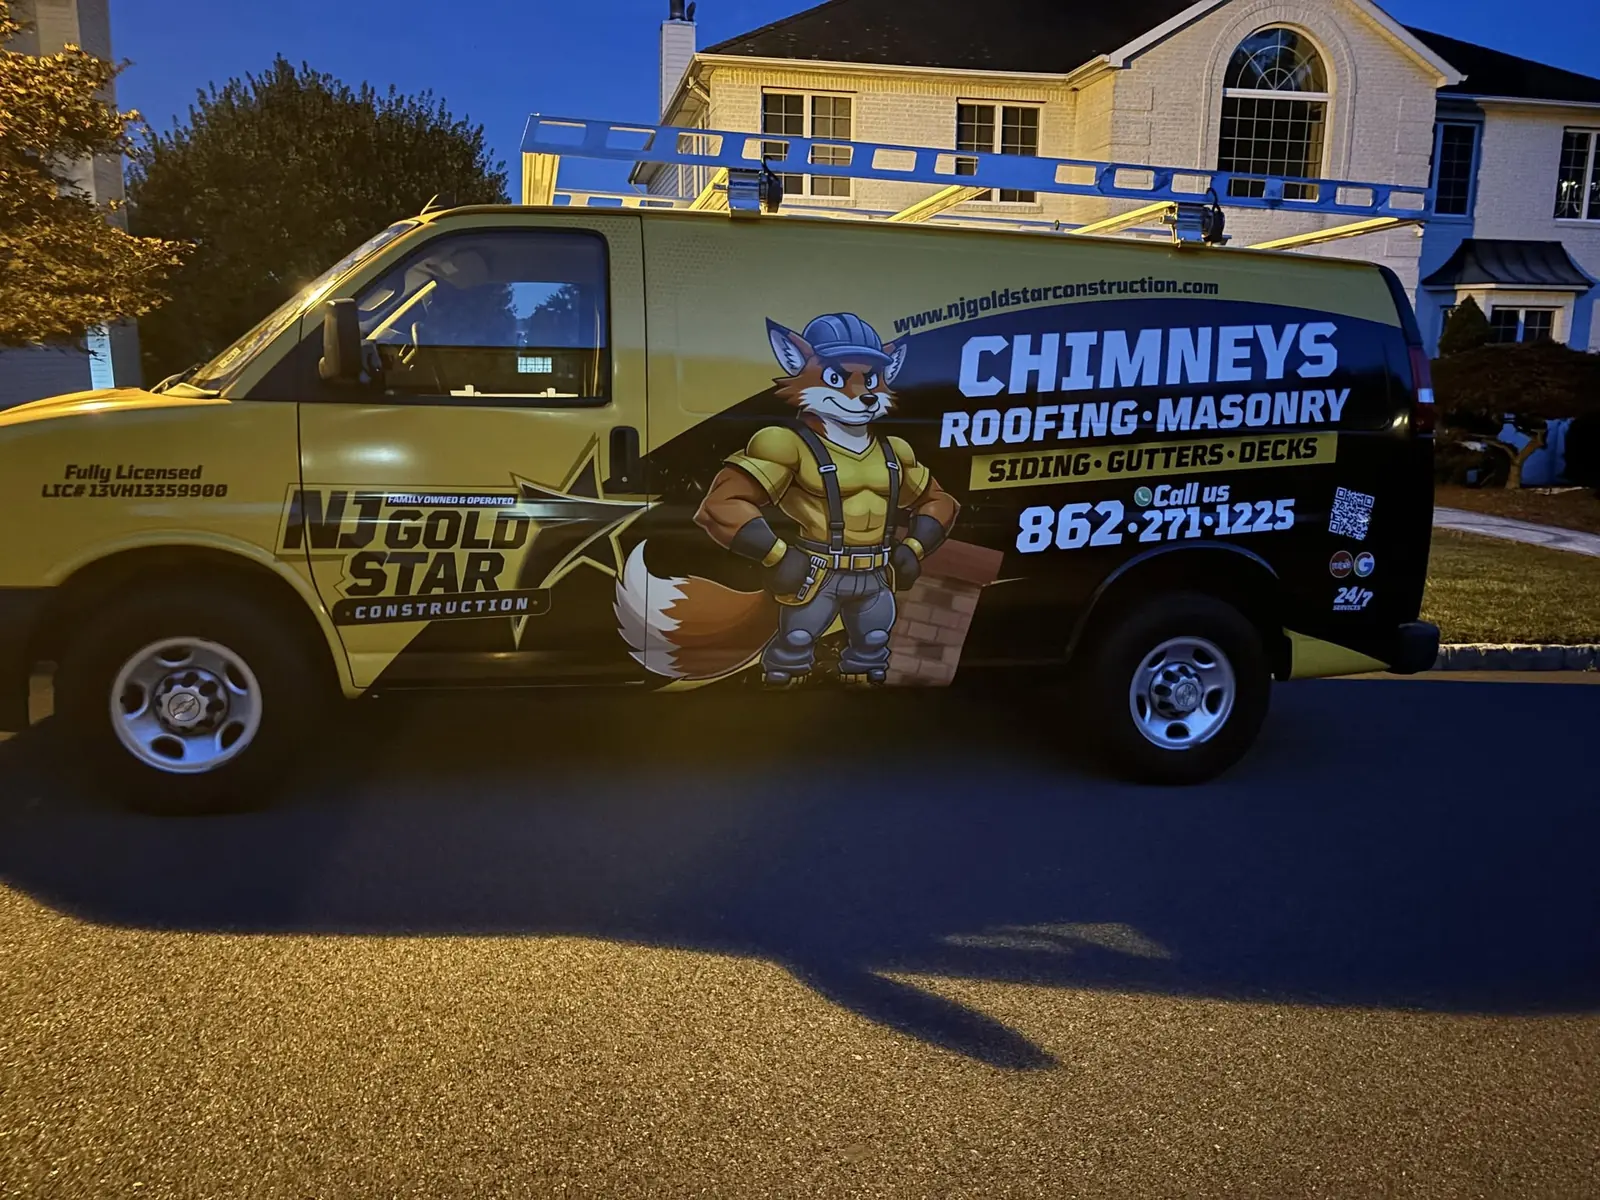
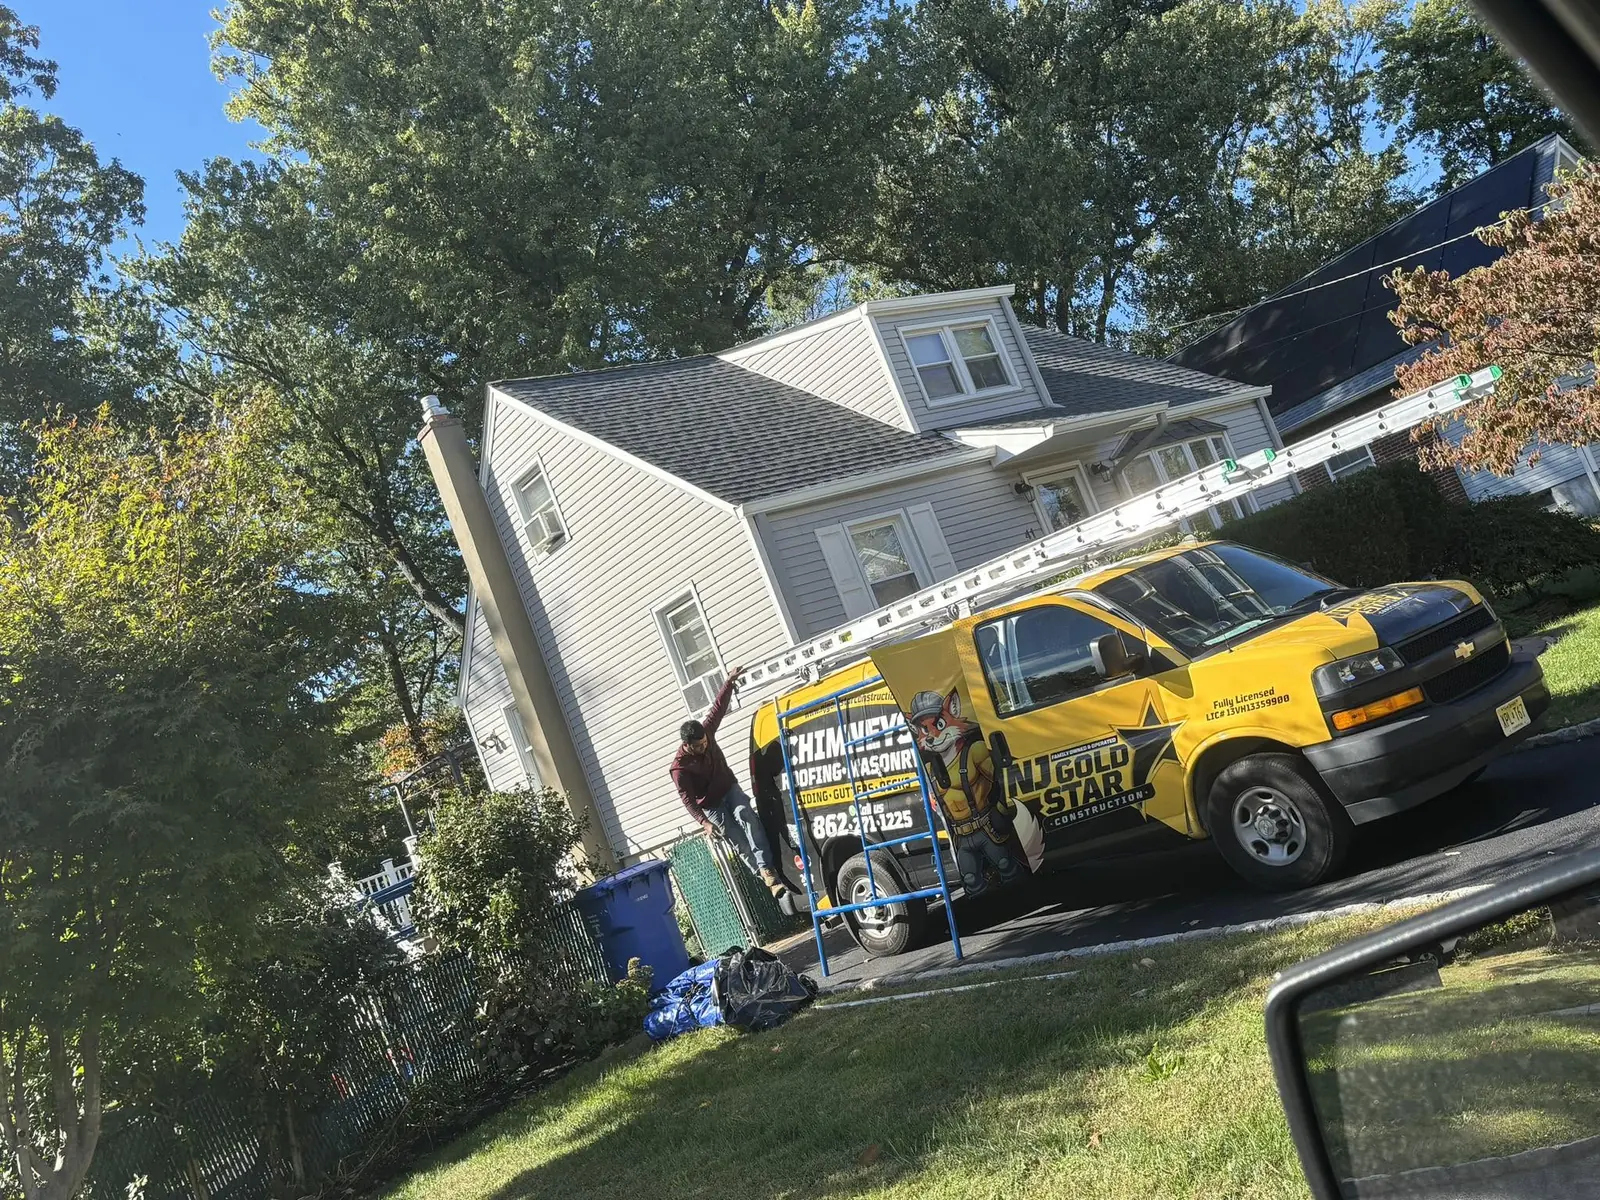
Two photos show NJ Gold Star Construction vans, one lettered for chimneys, roofing and masonry and one parked at a residential job site. Edgar Lopez Gonzalez runs the family-owned company, and our own crew does the work.
Asking us for photos
Tell us what you are planning, such as a roof, a liner, steps or a deck. We will point you to photos of similar work. Call or text (862) 271-1225, or request a free estimate. The photos do not carry location details, so we do not label them by address or customer.
Frequently Asked Questions
Are the photos on this page from real jobs?
Yes. The galleries show real work by our crew, with captions that describe only what is visible in each frame. The image files carry no location data, so we do not tie any photo to a street, town or customer. If you want to see similar work to your project, ask us.
Why do you show tear-off and rot photos, not just finished work?
Finished work shows the surface, but problems start underneath. Photos of bare roof boards, rotted edge framing and corroded liners show what was found and what was removed. Seeing the hidden stage tells you how a contractor handles it. We would rather show the whole job than only the final shot.
Can I ask for photos of work like my project?
Yes. Call or text (862) 271-1225, or use the contact page, and say what you are planning: a roof, chimney liner, masonry steps, a poured concrete walk or a deck. We will share photos of comparable work. Photos help you picture the result, but the scope and the number come from a free written estimate.
Do the photos tell me what my project will cost?
No. A photo cannot show the size, access, condition underneath, or local requirements of your property. Every project is priced from an on-site inspection, and the estimate is free, written and itemized. Use the photos to judge quality and workmanship, then compare written scopes rather than prices from pictures.
How do I know a contractor’s photos are really theirs?
Ask for several photos of the same job at different stages, and for the contractor to describe what was done in each. Real jobs have a sequence: before, tear-off or forms, hidden work, finish. You can also verify the contractor’s home improvement registration through the New Jersey license verification system.
- Homeowner Resources — Chimney Safety Institute of America (CSIA)
- Residential Wood Deck Guidelines — Mendham Borough, NJ
- Uniform Construction Code (N.J.A.C. 5:23) — NJ Department of Community Affairs
- License Verification System — NJ Division of Consumer Affairs